

Yes, you absolutely can add ventilated seats to your car! While not a factory standard for all vehicles, aftermarket kits make it possible to enjoy the cooling comfort of ventilated seats. This guide breaks down the process, costs, and crucial considerations for upgrading your car’s interior.
Do you ever dread hot summer drives? Feeling sticky and uncomfortable even with the air conditioning blasting? Many car owners dream of the luxury of ventilated seats, those amazing features that blow cool air through your seat. It feels like magic on a sweltering day! If your car didn’t come with this cool feature, you might be wondering if it’s something you can add. The good news is, while it requires some work, the answer is a resounding yes! This guide will walk you through everything you need to know, making it easy to understand if adding ventilated seats is the right upgrade for you. We’ll cover how it’s done, what it costs, and what to expect.
Why Consider Adding Ventilated Seats?
The appeal of ventilated seats goes beyond just luxury. They offer several practical benefits that can significantly improve your driving experience, especially in warmer climates.
Enhanced Comfort: This is the most obvious benefit. Ventilated seats actively draw heat away from your body, preventing that sticky, uncomfortable feeling that can make long drives miserable. It’s like having your own personal air conditioner directly interacting with you.
Improved Air Quality: The fans in ventilated seats can help circulate air within the cabin, potentially reducing stale air and improving overall air quality for occupants.
Reduced Back Sweat: For drivers who spend a lot of time behind the wheel, excessive sweating can be a major discomfort. Ventilated seats are fantastic at mitigating this, keeping you drier and more focused.
Increased Resale Value: While not a primary reason, adding premium features like ventilated seats can potentially increase your car’s appeal and resale value. It’s a noticeable upgrade that sets a car apart.
Health Benefits: For individuals who are sensitive to heat or have certain medical conditions exacerbated by overheating, ventilated seats can offer a more comfortable and even healthier driving environment.
How Do Ventilated Seats Work?
Understanding the basic principle behind ventilated seats can demystify the upgrade process. It’s not rocket science!
In essence, ventilated seats use a system of small, quiet fans integrated into the seat’s upholstery. These fans work in two primary ways:
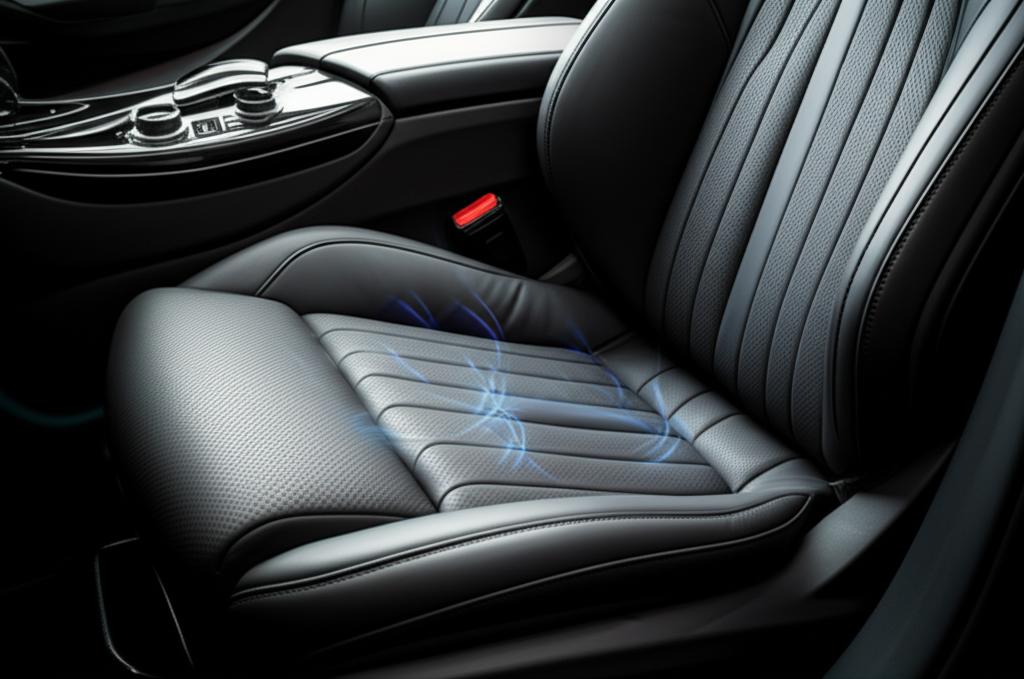
1. Drawing Air In (Most Common Method): The fans pull air from the cabin and push it up through tiny perforations in the seat’s fabric or leather. This creates a gentle breeze that cools you down by wicking away heat and moisture.
2. Pushing Air Out (Less Common): Some systems might push air out, but the most common and effective design for consumer upgrades is drawing air in.
The key is the combination of perforations in the seat material and the strategically placed fans. This setup ensures consistent airflow directly to where you sit. You’ll usually find a switch or button to control the fan speed, allowing you to adjust the cooling effect to your preference.
Can You Add Ventilated Seats to Any Car?
The short answer is almost always yes, but with some important caveats. The feasibility and complexity can vary depending on your car’s make, model, and current seat configuration.
Aftermarket Kits are Key: The most common way to add ventilated seats is by purchasing an aftermarket kit. These kits are designed to be retrofitted into existing seats.
Seat Material Matters: Perforated leather or fabric is ideal, as it allows air to pass through easily. If your seats aren’t already perforated, the kit might include instructions or require you to perforate them. Some kits even come with new perforated seat covers.
Electrical System: You’ll need access to your car’s electrical system to power the fans. This often involves tapping into existing power sources or running new wires.
DIY vs. Professional Installation: While some kits are designed for DIY installation, it’s a project that requires a good understanding of vehicle electronics and upholstery. For many, professional installation is the safer and more reliable route.
Cost Considerations: The price can vary significantly based on the kit’s quality, the number of seats you’re upgrading, and whether you’re doing it yourself or hiring a professional.
Ultimately, if you have standard car seats, it’s highly probable that you can find a solution to add ventilation. The more specialized your seats (e.g., unique airbag systems, complex lumbar support), the more complex the installation might become.
Types of Ventilated Seat Kits Available
The aftermarket world offers a few different approaches to getting ventilated seats in your car. Understanding these options will help you choose the best fit for your needs and budget.
1. Integrated Fan Kits
These kits are the most comprehensive and aim to replicate the factory experience as closely as possible.
How They Work: They involve installing small fans directly within the seat foam and upholstery. The kit usually includes a wiring harness, a control unit, and a switch to adjust fan speed.
Installation: This is the most involved type of installation, often requiring removal of the seat covers, placement of fans, and potentially perforating the seat material if it isn’t already.
Pros: Offers the most seamless look and feel, comparable to factory-installed systems. Very effective cooling.
Cons: Higher cost, more complex installation, and a greater risk of error if not done carefully or professionally.
Typical Components: Fans, wiring harness, control module, mounting hardware, switches.
2. Seat Cushion / Pad Kits
These are the simplest and most accessible way to add ventilation.
How They Work: These are essentially add-on cushions or pads that you place on top of your existing car seat. they have built-in fans and connect to your car’s 12V power outlet (cigarette lighter).
Installation: Extremely easy! Just plug them in. No modification to your car’s seats or electrical system is needed.
Pros: Very affordable, easy to install and remove, portable (can be moved between vehicles).
Cons: Not as aesthetically pleasing as integrated systems, cooling might not be as uniform or powerful, can feel a bit bulky.
Typical Components: Ventilated seat cushion, power cord with adapter, sometimes a basic on/off switch.
3. DIY Fan & Perforation Kits
For the truly adventurous DIYer, there are kits that provide the core components for you to build your own system.
How They Work: These kits supply fans, wiring, and sometimes a switch. You would then be responsible for figuring out how to mount the fans, run the wiring, and perforate your seats.
Installation: Highly dependent on your skill level and ingenuity. Requires significant planning and execution.
Pros: Potentially the most customizable and cost-effective if you have the skills.
Cons: Requires advanced DIY skills, time-consuming, and carries the highest risk of poor results or damage if not done correctly.
Typical Components: Fans, wiring, connectors, fuse holders, switches, instructions (often minimal).
What to Consider Before Adding Ventilated Seats
Before you jump into buying a kit, take a moment to think about a few important factors. This will help ensure you get a solution that works well for you.
1. Your Car’s Seats
Material: Are your seats leather, fabric, or a synthetic material? Leather is often easier to perforate and clean, but high-quality fabric can also work well. If your seats already have perforations, it’s a huge advantage.
Seat Occupancy Sensors: Modern cars have sensors in the seats to detect occupants, which deploy airbags correctly. You need to ensure any modification doesn’t interfere with these sensors. This is a critical safety feature.
Seat Airbags: Side airbags are often integrated into the seat bolsters. Any modification must avoid compromising these.
Seat Structure: Understanding how your seats are constructed (foam density, frame, heating elements if present) will help determine where fans can be placed and how wiring can be routed.
2. Installation Process
DIY vs. Professional: Be honest about your mechanical and electrical skills. Integrated fan kits, in particular, can be complex. If you’re not comfortable with removing upholstery, running wires, and understanding automotive electrical systems, it’s best to budget for professional installation. Professionals with experience in car audio or custom interiors are usually a good bet. The Specialty Equipment Market Association (SEMA) offers resources on aftermarket installations done right.
Time Commitment: Even for DIYers, installing an integrated kit can take a full weekend or more. Professional installation will take less time but will incur labor costs.
3. Cost Breakdown
The price of adding ventilated seats can vary widely. Here’s a general idea:
| Type of Kit | Estimated Kit Cost | Estimated Professional Installation Cost | Total Estimated Cost |
| :————————– | :—————– | :————————————- | :——————- |
| Seat Cushion/Pad Kits | $50 – $200 | N/A (DIY) | $50 – $200 |
| Integrated Fan Kits | $200 – $600 | $300 – $800 per seat | $500 – $1400+ |
| DIY Fan & Perforation Kits | $100 – $300 | N/A (DIY – requires substantial skill)| $100 – $300+ |
Note: These are rough estimates. Prices can fluctuate based on brand, quality, number of seats, and your region. Always get specific quotes for parts and labor.
4. Power Requirements
Fuse Rating: The fans will draw a certain amount of amperage. Ensure your chosen power source can handle the load and that you install an appropriate fuse to protect the circuit and your car’s electrical system. The National Highway Traffic Safety Administration (NHTSA) emphasizes the importance of proper electrical system maintenance and modification.
Wiring Complexity: Integrated kits require careful routing of wires to avoid pinch points, interference with moving parts (like seat rails), and a clean appearance.
Step-by-Step Guide: Installing Integrated Ventilated Seat Kits (General Overview)
This is a general guide for installing an integrated fan kit. Remember, specific instructions will vary by manufacturer. Always consult the kit’s manual and prioritize safety!
Tools You’ll Likely Need:
Socket set and wrenches
Screwdrivers (Phillips and flathead)
Trim panel removal tools (plastic pry tools are best to avoid scratching)
Wire strippers and crimpers
Electrical tape and zip ties
Heat gun (for heat shrink tubing)
Multimeter (for testing electrical connections)
Utility knife or specialized upholstery tool (if perforating)
Shop vacuum (for cleaning)
* Safety glasses and gloves
Installation Steps:
- Disconnect Battery: Crucial safety step! Disconnect the negative terminal of your car battery to prevent electrical shorts. Wait at least 15-30 minutes for any residual power to dissipate.
- Remove Seats: Carefully remove the front seats from your vehicle. This usually involves unbolting them from the floor. Be mindful of any wiring harnesses connected underneath.
- Disassemble Seat Upholstery: This is often the most challenging part. You’ll need to gingerly remove the seat covers (leather or fabric) without tearing them. This typically involves releasing clips, Velcro, or hog rings that hold the cover in place. Refer to your seat’s specific construction or online guides for your car model.
- Position the Fans: Place the fans within the seat foam. Many kits provide templates or specific mounting points within the seat structure. Ensure the fans are oriented to push air upwards through the intended perforations. Avoid placing them where they’ll interfere with seat frame components or support structures.
- Perforate Seat Material (If Necessary): If your seat covers aren’t already perforated, you’ll need to create a pattern of small holes. Use a specialized tool, a heated needle, or a very small drill bit. Space holes evenly to allow for good airflow without compromising the material’s integrity. A common pattern involves holes spaced about 1-2 inches apart.
- Wire the Fans: Connect the fans to the provided wiring harness according to the kit’s instructions. This usually involves crimping or soldering connections and using heat shrink tubing for insulation.
- Route Wiring Harness: Run the wiring harness from the fans, down through the seat structure, and towards the power source. Use zip ties to secure the harness neatly and prevent it from snagging or getting in the way of seat adjustments.
- Connect to Power and Switch: Route the main power wire from the harness to a suitable power source in your car (e.g., a dedicated fuse tap on the fuse box, or a connection to the ignition circuit for power when the car is on). Install the control switch in a convenient location on your dashboard or center console. Ensure all connections are secure and fused appropriately. Consult your car’s manual for suitable fuse locations and the automotive electrical system guidelines.
- Reassemble Seats: Carefully reattach the seat covers, securing all clips and fasteners. Reinstall the seats back into the vehicle, reconnecting any wiring harnesses underneath.
- Reconnect Battery and Test: Reconnect the negative battery terminal. Turn on your car and test the ventilated seat function. Cycle through the fan speeds to ensure everything works correctly and that there are no warning lights on your dashboard.
Pros and Cons of Adding Ventilated Seats
Weighing the benefits against the potential drawbacks is key to making an informed decision.
Pros:
- Significant Comfort Improvement: Especially in hot weather, the difference is dramatic.
- Reduced Sweating and Stickiness: Stay dry and comfortable on long drives or in stop-and-go traffic.
- Potential Increase in Resale Value: A desirable premium feature.
- Customizable Experience: Choose kits that offer adjustable fan speeds.
- Relatively Straightforward with the Right Kit: Cushion kits require zero installation effort.
Cons:
- Cost: Integrated kits can be a significant investment.
- Complex Installation for Integrated Kits: Requires technical skill and time, or professional labor costs.
- Potential for Electrical Issues: Incorrect installation can lead to blown fuses or other electrical problems.
- Interference with Seat Sensors/Airbags: Risk of compromising safety systems if not installed correctly.
- Aesthetics (for cushion kits): Add-on cushions may not look as sleek as integrated systems.
Frequently Asked Questions (FAQ)
Q1: Will adding ventilated seats affect my car’s warranty?
A: It depends on your car’s warranty terms and the nature of the modification. If you have an integrated kit installed by a professional, they might cover the modification. However, if a problem arises directly traceable to the aftermarket ventilation system, the manufacturer might deny warranty claims related to that specific system or related electrical components. Electing for a simple, plug-and-play cushion kit is usually warranty-friendly.
Q2: How loud are the fans in ventilated seats?
A: Reputable aftermarket kits are designed to be quiet. Cushion-type fans are generally more noticeable but still usually akin to a whisper. Integrated fan systems, when properly installed within dense foam, are often very discreet, sometimes barely audible above ambient cabin noise.
Q3: Can I add ventilated seats to the rear seats?
A: Yes, it’s possible. However, rear seat installation can be more complicated due to different seat construction and less accessible power sources. Integrated kits for rear seats might also be less common or more expensive. Cushion kits are easily usable for rear seats.
Q4: Is it safe to install ventilated seats myself?
A: For plug-and-play cushion kits, absolutely. For integrated fan kits, “safe” depends entirely on your skill level and adherence to safety procedures, especially regarding electrical connections and airbag systems. If you have any doubts, professional installation is highly recommended for your safety and the integrity of your vehicle.
Q5: What’s the difference between ventilated and cooled seats?
A: In the automotive world, these terms are often used interchangeably. “Ventilated seats” generally refer to systems that blow air through the seat to enhance cooling. “Cooled seats” can sometimes imply a more active refrigeration system, but for aftermarket upgrades and most factory systems, “ventilation” is the primary mechanism, using fans and airflow.
Q6: Do I need to modify my car’s existing upholstery?
A: With integrated fan kits, you likely will need to perforate the seat material if it isn’t already. This creates the pathway for air to reach you. Cushion-type kits require no modification to your car’s seats at all.
Conclusion
The dream of enjoying cool, comfortable car seats, even on the hottest days, is more achievable than you might think. While adding factory-level ventilated seats might seem daunting, the availability of aftermarket kits—from simple plug-in cushions to more involved integrated fan systems—opens up this luxury to a wide range of vehicles.
If you’re seeking immediate comfort with zero hassle, a ventilated seat cushion is an excellent starting point. For those desiring a more integrated and aesthetically pleasing solution, aftermarket kits for installation within your existing seats are a viable option, though
Recent Posts
Say goodbye to digging for your phone or spilling your coffee. A center floor console is the must-have car organizer that will instantly declutter your drive and streamline your commute.
Tired of uncomfortable car seats ruining your journey? Discover how a quality car seat cushion pad can transform every drive into your most comfortable ride yet.