
Surprising fact: nearly 70% of drivers underestimate how much low inflation robs mpg and shortens tread life — and most fixes take under five minutes.
We’ll walk you through a clear, confidence-boosting plan to perform a quick step-by-step tire pressure check for manual cars using basic tools you likely already own. This is practical, not technical.
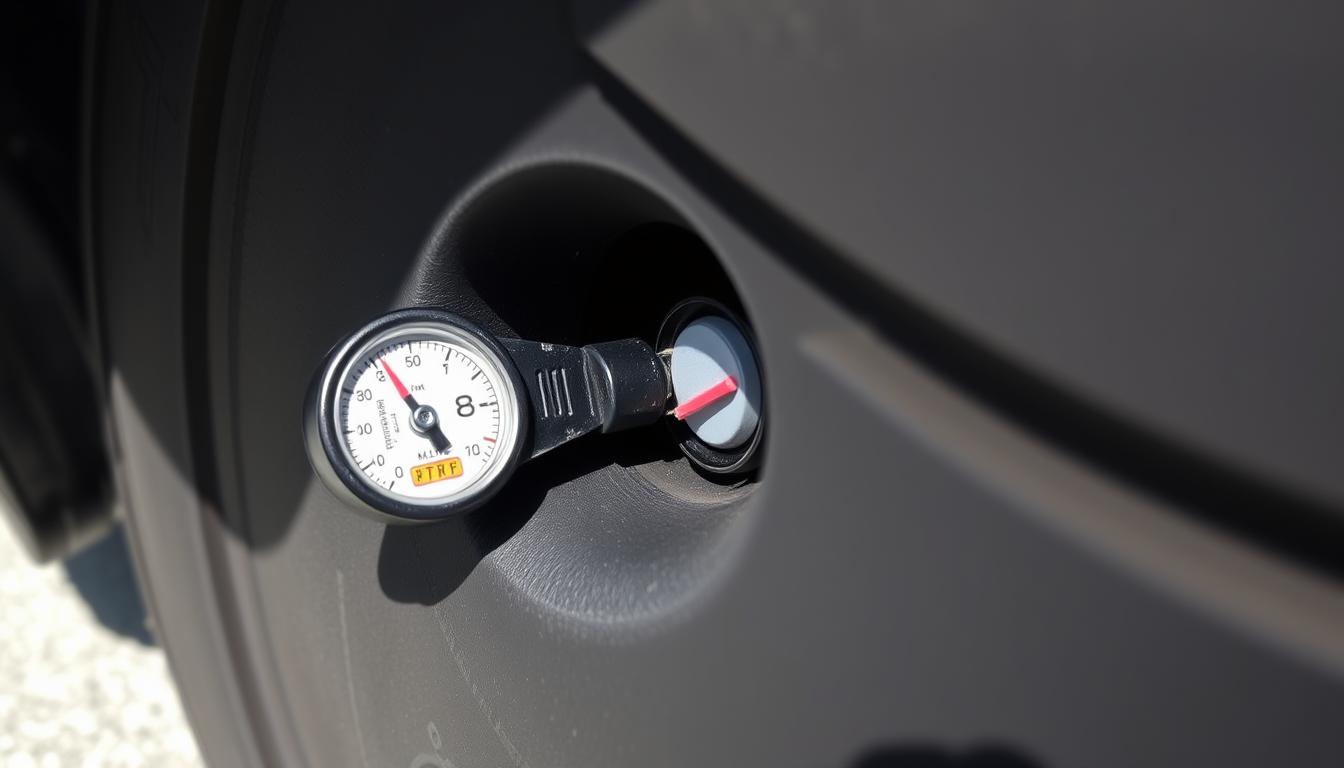
Proper inflation supports longer wheel life, sharper steering, better fuel economy, and a smoother ride. Start with cold tires — parked at least three hours or driven less than a mile — to get an accurate PSI reading.
We’ll show where to find the recommended cold PSI on the driver-side door jamb and in the owner’s manual. If you must add air while tires are hot, follow the 4 PSI rule: add four pounds above the cold number, then recheck when cool.
Key Takeaways
- We give a short checklist so you can check tire pressure with simple tools and confidence.
- Proper inflation improves performance, safety, and fuel economy.
- Find your vehicle’s cold PSI on the driver-side door sticker or owner’s manual.
- Use a personal gauge each month — gas-station gauges can be unreliable.
- If filling hot, add 4 PSI above the cold recommendation and recheck when cool.
Why proper tire pressure matters for performance, safety, and fuel economy
Proper inflation affects how your car responds on every drive — from cornering to braking. When each wheel holds the right pressure, your vehicle steers with more precision. Braking feels firmer. Ride comfort improves.
Underinflated tires wear faster and force the engine to work harder. That hurts fuel economy and raises the chance of overheating on long trips. Overinflation makes the ride harsh and reduces traction on rough roads.
Manufacturers set the recommended tire pressure based on cold readings. Following the sticker in the door jamb or the owner manual keeps handling consistent. A quick monthly routine keeps numbers where they belong — and saves time and money in the long run.
- Crisp steering and confident braking: correct tire pressure helps you feel the difference.
- Lower running costs: proper inflation reduces rolling resistance and improves fuel use.
- Safety first: even tread contact shortens stopping distance, especially in wet weather.
- Avoid extremes: too little or too much air shortens tire life and raises damage risk.
Keep it simple: follow the recommended tire pressure for your model and check pressure about once a month. Once this becomes routine, your tires last longer and driving feels safer.
Essential tools to check tire pressure accurately
We’ll keep this simple and practical. Gather a small kit and you’ll get reliable readings every time. A quality personal gauge and an inflator are the two must-haves. Add a flashlight and spare valve caps and you’re ready for night or low-light checks.
Tire pressure gauge types: digital, dial, and stick
Digital gauges are easy to read and fast—but they need batteries.
Dial models give precise analog readings and are durable.
Stick gauges are simple, cheap, and rugged. Pick what matches your budget and how often you’ll use it.
Air compressor options: home inflators and gas station pumps
Portable 12V inflators work well at home. Many auto stores sell reliable compressors that fit a trunk. Gas-station pumps are handy on the road but can be worn and inaccurate. If you rely on station air, bring your own pressure gauge to compare results.
Finding recommended PSI: owner manual and driver side door sticker
Your vehicle’s recommended cold PSI is printed on the driver-side door sticker and listed in the owner manual. Front and rear targets may differ—write them down before you start. When seating the gauge, press squarely on the valve stem; if you hear a hiss, adjust the angle until the reading steadies.
- Carry your own pressure gauge to avoid questionable station readouts.
- Store gauge and inflator together so tools are always at hand.
- Keep spare valve caps and a flashlight in the glove box.
Step-by-step tire pressure check for manual cars
We’ll keep this hands-on and short. Start by making sure tires are cold — parked three hours or driven less than a mile. Cold readings match the numbers on the driver side door or in your owner manual.
Prep each wheel: remove the valve cap and keep it safe in a pocket. Center the gauge squarely on the valve stem and press firmly until the hiss stops.
Read the value and write it down. Record front-left, front-right, rear-left, rear-right and the spare so nothing gets mixed up. Digital gauges show numbers on screen; dial and stick types use a scale.
Compare each reading to the recommended tire pressure from the driver side door. If tires are hot, add 4 PSI above the cold target, then recheck when cool.
Use short bursts of air when inflating and remeasure often. If a reading is high, release air with the gauge bleed or gently press the valve pin. Replace every valve cap and do one final sweep of all four tires and the spare.
When to check tire pressure for the best results

Knowing when to inspect your tires makes routine care fast and reliable. We recommend checking tire pressure first thing in the morning or after your car has sat at least three hours. That gives the most accurate cold reading aligned with the manufacturer’s PSI.
Cold vs. hot readings: air expands with heat, so driving raises PSI. A hot reading can look acceptable even when cold pressure is low. If you must top off after driving, add 4 PSI above the cold target and recheck when cool.
Make this a quick monthly habit—and always before long trips or big seasonal temperature swings. Use the same gauge each time and record each reading to spot slow leaks early.
- Best time: morning or after 3+ hours resting.
- Frequency: at least monthly, plus before trips and during seasonal shifts.
- Units: PSI = pounds per square inch; keep measurements in PSI for consistency.
How to read tire pressure information in your car manual and door jamb
We’ll show a quick, reliable way to read the essential numbers and avoid common mix-ups. Start at the door — the label gives the cold PSI goal for front and rear. It may also list the spare and the recommended tire size.
Decoding the driver side door sticker for front and rear PSI
Look at the sticker on the driver side door jamb. The manufacturer lists cold PSI per axle. Front and rear values can differ to balance handling and load.
Using the owner manual for load, speed, and seasonal guidance
The owner manual adds context. It tells you when to raise values for heavy loads, towing, or long highway runs. Use those notes only when conditions match.
Sidewall maximum vs. recommended tire pressure: key differences
Do not use the sidewall maximum as your daily target. That number is the tire’s max safe inflation, not the vehicle’s recommended setting.
“Match your gauge to PSI and stick to the vehicle’s sticker or owner manual for everyday driving.”
- The door sticker shows cold PSI and sometimes tire size.
- Match front and rear readings to the label.
- Snap a photo of the sticker and the owner manual page so you can ensure tires are set correctly away from home.
Adjusting tire pressure: adding and releasing air safely

A careful, measured approach keeps you safe and avoids mistakes. We’ll cover using an air compressor at home or a gas station, how to bleed air from a valve without harm, and how to apply the 4 PSI rule when tires are hot.
Using an air compressor at home or a gas station
At home, plug in a portable air compressor and work in short bursts. Move clockwise around the vehicle so the hose reaches every corner. At a gas station, park close so the pump hose can reach all four wheels and have change ready if required.
Letting air out: controlled deflation without damaging the valve
To release air, press straight on the valve stem. Many gauges include a bleed tip; use it. If not, press the valve core pin gently with a small tool tip. Do this slowly and remeasure often with your own tire pressure gauge.
Understanding and applying the 4 PSI rule on tires
If you’ve driven recently and the readings are hot, inflate to 4 psi above the cold recommendation. Then recheck when the vehicle has cooled and reset to the exact cold target. Always add or release small amounts and confirm with your gauge between bursts.
- Before and after: use your gauge to avoid overshoot.
- Protect the valve: press squarely on the stem and replace the valve cap immediately.
- Final safety pass: after setting proper tire pressure, look for nails, cuts, or bulges and schedule repairs if needed.
Common mistakes to avoid when checking tire pressure
A few common mistakes skew readings and shorten tire life faster than drivers expect.
We recommend a few habits to keep readings reliable and avoid avoidable wear.
Relying on bad gauges and skipping monthly checks
Don’t trust worn station devices. Gas-station pistons and built-in gauges can be weathered and off by several PSI. Keep a reliable tire pressure gauge in the glove box and use it monthly.
Ignoring temperature, loads, and front/rear differences
Measure cold whenever possible. Heat from driving raises numbers—apply the 4 PSI rule when you must inflate hot and then recheck later.
Follow the owner manual and the door sticker—not the sidewall maximum. Front and rear targets can differ; set each axle to its own spec.
- Use your own gauge—station units wear out.
- Set a monthly reminder to check tire health.
- Measure cold; add 4 PSI above cold target only if tires are hot, then recheck.
- Never use sidewall max as daily target—follow the owner manual.
- Match front and rear to their recommended values; don’t inflate all four to one number.
- If one corner keeps losing air, inspect for punctures and rim leaks promptly.
Quick comparison
| Common Error | What Happens | What to Do |
|---|---|---|
| Worn gas-station gauge | False high/low readings; wasted time | Use a personal tire pressure gauge and compare |
| Skipping monthly checks | Slow leaks go unnoticed; uneven wear | Set a calendar reminder and log readings |
| Using sidewall max | Poor handling; harsh ride | Follow the owner manual or door sticker |
| Ignoring temperature/load | Misleading hot readings; wrong inflation | Measure cold or apply the 4 PSI rule and recheck |
“Regular, accurate readings save fuel and extend tread life—small time investments pay off.”
Conclusion
We recap how to check tire pressure so you finish with a clear, repeatable routine that fits into monthly care.
Start at the driver side sticker or the driver side door and use your own gauge. Record a cold reading — parked 3+ hours or driven less than a mile — for accuracy.
Follow the 4 PSI rule when tyres are hot: inflate 4 per square inch above the cold target, then recheck when cool. This protects the vehicle, improves fuel use, and keeps handling predictable.
Work around all four tires, add or release air in short bursts, and replace every valve cap. Keep a compact air compressor and a trusted gauge handy — gas pumps cost money and vary in accuracy.
One small habit each month saves money and gives you confident driving every day.
FAQ
How often should we check our tire psi?
We recommend checking psi at least once a month and before long trips. Tires lose small amounts of air over time — monthly checks help maintain safety, handling, and fuel economy.
When is the best time of day to take readings?
Take readings when the tires are cold — ideally first thing in the morning or after the car has sat for three hours. Heat raises readings, so cold measurements give the most accurate number in pounds per square inch.
Where do we find the recommended psi for our vehicle?
Look at the sticker on the driver-side door jamb or in the owner’s manual. That recommended value is what the manufacturer suggests for normal driving — not the maximum on the tire sidewall.
Which gauge type should we use — digital, dial, or stick?
Any quality gauge works. Digital gauges are easy to read. Dial gauges are durable. Stick (pencil) gauges are cheap and portable. Calibrate occasionally and avoid cheap, inaccurate models.
How do we use a gauge on the valve stem without losing air?
Remove the valve cap and press the gauge squarely onto the valve stem. Hold it steady for one second until the reading stabilizes. Replace the cap afterward to keep dirt out.
Can we use a gas station air compressor safely?
Yes — gas station compressors work well for adding air. Use short bursts, recheck with your gauge, and avoid overinflating. Many stations have built-in gauges — verify with your own for accuracy.
How do temperature changes affect the reading?
Cold air contracts and lowers psi; heat raises it. Expect roughly a 1–2 psi change per 10°F shift. Adjust seasonally and always use the cold reading to set the recommended value.
What should we do if a tire reads below the recommended number?
Add air until you reach the recommended value. Inflate in short bursts, then recheck. If you repeatedly find low readings, inspect for leaks, damaged valve stems, or uneven wear.
Is the number on the tire sidewall the correct setting?
No — the sidewall shows the tire’s maximum inflation, not the vehicle’s recommended setting. Always follow the vehicle sticker or owner manual for front and rear psi.
Should we also check the spare?
Yes. Check the spare at the same time — many drivers forget it until they need it. Keep it at the recommended psi so it’s ready if needed.
How do we let air out safely if a tire is overinflated?
Press the small pin inside the valve stem briefly with a tool or the back of your gauge to release air slowly. Recheck often to avoid releasing too much at once.
What common mistakes should we avoid when measuring psi?
Avoid relying on a single cheap gauge, checking only hot tires, and ignoring the driver-side sticker. Also, don’t mix maximum sidewall psi with recommended vehicle psi.
How does uneven front/rear psi affect handling?
Using the wrong front or rear settings can cause poor handling, uneven wear, and reduced fuel efficiency. Follow the specific front and rear values on the door sticker or in the owner manual.
Can load and speed change the recommended psi?
Yes. For heavy loads or extended high-speed driving, consult the owner manual — manufacturers sometimes recommend slightly higher psi to support extra weight and heat buildup.
Recent Posts
Jumper Cables With Bag: Heavy Duty Booster Cables for Easy Storage
There’s nothing more frustrating than turning the key in your car and hearing silence. A dead battery can ruin your day in an instant.You might feel stuck, stressed, and unsure what to do next....
Strong Ram 1500 Heavy Duty License Plate Frame for Ultimate Durability
There’s nothing more frustrating than struggling with a flimsy license plate frame that bends, rusts, or just doesn’t fit right on your Ram 1500. You want something strong and reliable that...