
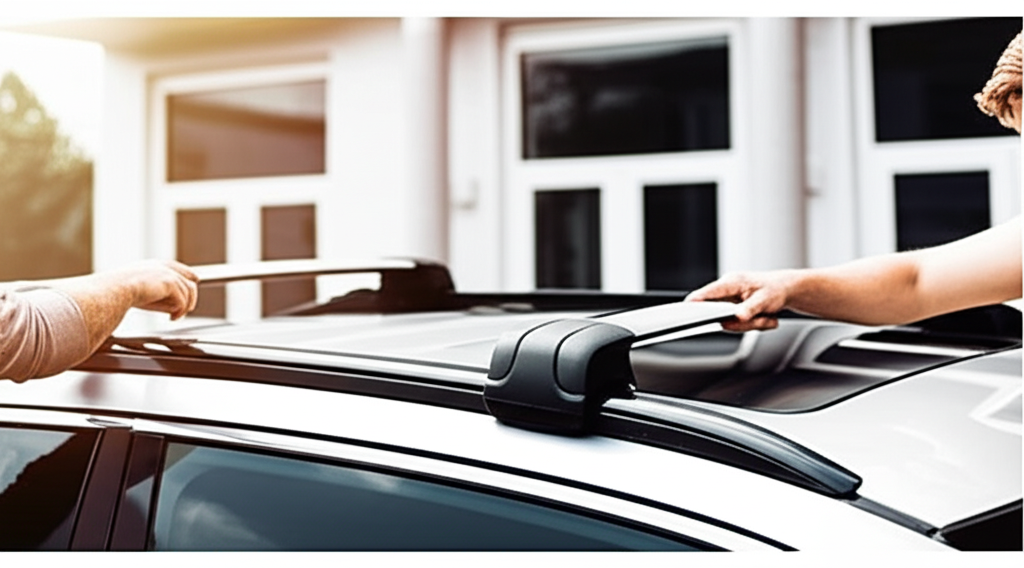
Roof rack stops are essential for securing your gear and preventing it from sliding. They act as physical barriers, ensuring items stay put during transit, which is key for safety and peace of mind on the road.
Having gear shift around on your roof rack can be a real worry. Whether it’s luggage, sporting equipment, or building materials, the last thing you want is for it to move unexpectedly. This isn’t just annoying; it can be dangerous. Thankfully, there are simple and effective solutions to keep everything locked down. This guide will walk you through why roof rack stops are so important and how they can make your travels much smoother and safer. We’ll demystify these helpful accessories and show you how easy it is to use them to your advantage.
What Exactly Are Roof Rack Stops?
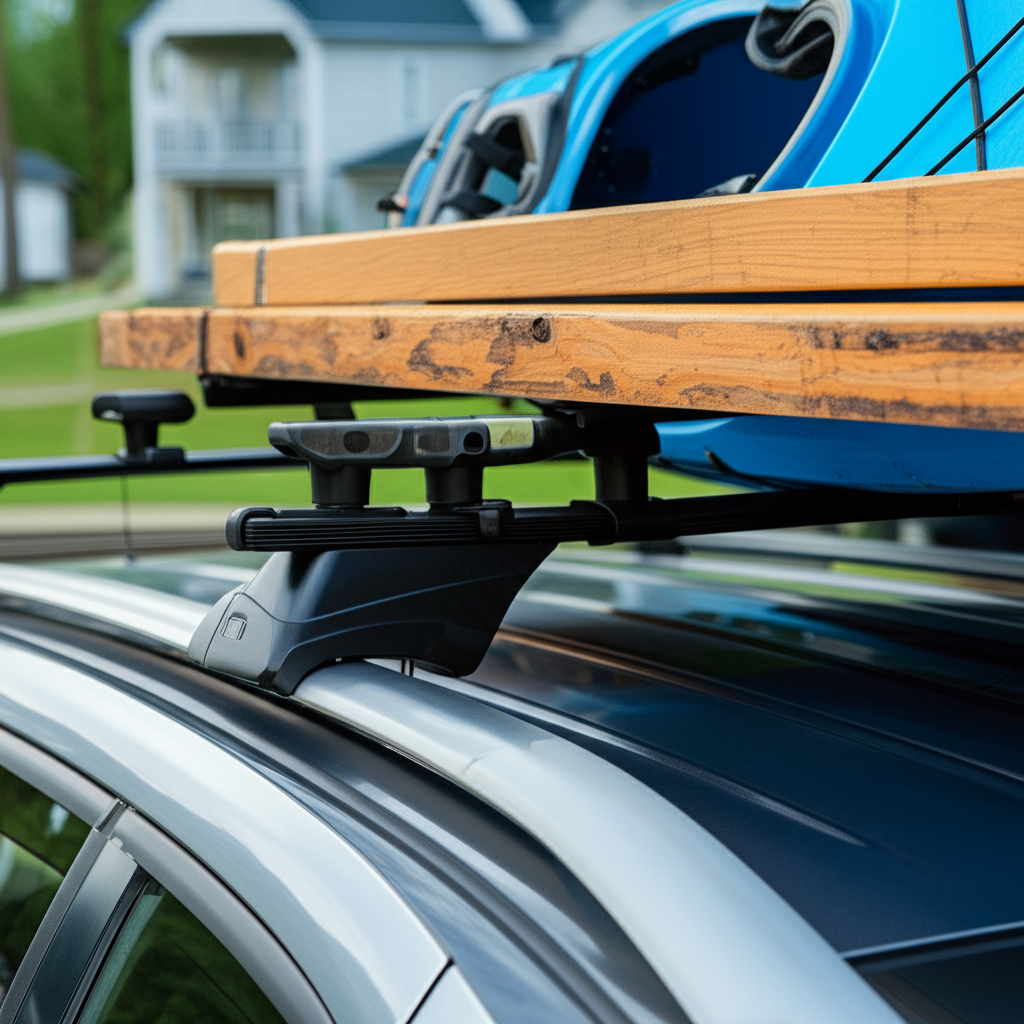
Think of roof rack stops as the trusty little guards for your cargo. They are pieces designed to attach to your roof rack’s crossbars and create a physical barrier. Their main job is to prevent whatever you’re carrying – from tents to lumber – from sliding forward, backward, or sideways. This is especially important when you brake, accelerate, or turn. Without them, even tightly strapped items can shift, especially on longer trips or over bumpy roads.
These stops come in various shapes and sizes, often made from durable materials like rubber, plastic, or metal. Their design is usually simple but effective. Some are specifically made for certain types of roof racks, while others are more universal. Understanding what they do is the first step to ensuring your cargo stays exactly where you put it, making your journeys safer and more enjoyable.
Why Are Roof Rack Stops Crucial?
The importance of roof rack stops can’t be overstated, especially when it comes to safety. Loose cargo on a roof rack presents a serious hazard. It can compromise your vehicle’s balance, making it harder to control, and in the worst-case scenario, it could fall off your vehicle, endangering other drivers on the road. This is why using proven solutions like roof rack stops is non-negotiable for responsible hauling.
Enhanced Safety:

Most importantly, stops prevent cargo from shifting. This reduces the risk of accidents caused by unstable loads or falling items. It’s about protecting yourself, your passengers, and other road users.
Secure Cargo:
They add an extra layer of security to your load. Even with straps, stops provide a physical blockage that stops items from creeping during transit.
Peace of Mind:
Knowing your gear is securely in place allows you to focus on driving and enjoy your trip without constant worry about your cargo.
Organized Loading:
Stops can also help you position your cargo more consistently and with less effort, making loading and unloading a more organized process.
Preventing Damage:
By keeping items from sliding, stops can also prevent damage to your cargo and your vehicle’s roof.
Types of Roof Rack Stops and How They Work
There are several types of roof rack stops available, each designed to offer different levels of versatility and security. The best choice for you will depend on the type of roof rack you have and the kind of items you typically carry.
1. Universal Rubber or Plastic Stops
These are perhaps the most common and beginner-friendly types. They usually clip or strap onto the crossbars of your roof rack. Their design often features a raised edge or a “stop” surface that directly contacts your cargo. They are great for general use and come in various shapes, some looking like small bumpers or blocks.
- How they work: They create a physical lip or barrier on the crossbar. When you place your cargo, you snug it up against these stops. The stops prevent forward, backward, and sometimes lateral movement.
- Pros: Easy to install and remove, affordable, work with many different types of racks and cargo, good for lighter loads or general purposes.
- Cons: May not be robust enough for very heavy or awkwardly shaped items, can sometimes slip if not secured properly.
2. Integrated or Custom Fit Stops
Some higher-end roof rack systems come with integrated stops or have specific accessory stops designed precisely for their rack models. These are often built into the rack’s design or attach in a more secure, purpose-built way.
- How they work: These are often part of the rack’s structural design or use dedicated mounting points for a very secure fit. They form a solid barrier integrated with the rack itself.
- Pros: Extremely secure fit, often more durable, designed to match the rack’s aesthetics and functionality perfectly.
- Cons: Can be more expensive, typically only compatible with a specific roof rack brand or model, less flexible if you change your rack setup.
3. Bar-End Stops
These are designed to fit onto the very ends of your crossbars. While primarily intended to prevent items from sliding off the ends, some designs can also offer a degree of forward and backward stopping by creating a raised edge at the termination of the bar.
- How they work: They cap the ends of the crossbars, acting as a guardrail. Some have raised surfaces that can also serve as stops.
- Pros: Prevents items from sliding off the ends, can offer some general stopping power, easy to attach.
- Cons: Limited stopping power for items positioned further in on the rack, their primary function is end-of-bar protection.
4. Tie-Down Straps with Integrated Stops
While not a physical stop on the rack itself, some advanced tie-down straps have built-in mechanisms or shapes that help prevent the strap from sliding sideways on the crossbar, indirectly contributing to cargo stability. However, true “stops” are physical protrusions from the rack.
This table summarizes the key differences between common types of roof rack stops:
| Type of Stop | Material Commonality | Attachment Method | Best For | Pros | Cons |
|---|---|---|---|---|---|
| Universal Rubber/Plastic | Rubber, Plastic | Clip-on, Strap-on | General cargo, various racks | Affordable, easy, versatile | Less secure for heavy loads |
| Integrated/Custom Fit | Aluminum, Steel, Heavy-duty Plastic | Bolt-on, Slot-in | Specific rack systems, heavy loads | Very secure, durable, OE look | Expensive, rack-specific |
| Bar-End Stops | Plastic, Rubber, Metal | Cap-on | Preventing end-slide, kayaks, longer items | End protection, simple | Limited stopping for center cargo |
Choosing the Right Roof Rack Stops for Your Needs
Selecting the perfect roof rack stops involves a few considerations. Don’t just grab the first ones you see; a little thought will ensure you get the best performance and value.
1. Compatibility with Your Roof Rack
This is the most critical factor. Some stops are designed to work with specific rack systems (like Thule, Yakima, Rhino-Rack), while others are universal. Measure your crossbars: are they square, round, wing-shaped, or aero-blades? Ensure the stops you choose will fit securely onto your existing crossbars without being too loose or too tight.
2. Type of Cargo You Haul
- Light to Medium Loads (e.g., luggage, camping gear): Universal rubber or plastic stops will likely suffice. They add a needed barrier without being overly complex.
- Heavy or Awkward Loads (e.g., lumber, ladders, kayaks): You’ll want more robust, possibly integrated or custom-fit stops. These will provide a stronger, more reliable barrier against heavy items shifting. For kayaks, dedicated kayak racks with built-in cradles and stops are often the best solution, but stops on the crossbar can help position them correctly.
- Sporting Equipment (e.g., skis, bikes): If you use specialized carriers for these, the carriers themselves often have integrated stopping features. However, for long loads like skis or kayaks that might extend past the crossbars, end-of-bar stops are extremely useful.
3. Ease of Installation and Removal
Are you someone who puts your roof rack gear on and leaves it there, or do you frequently swap between different types of loads? If you need flexibility, easy-to-install and remove stops are vital. Clip-on or strap-on models are generally the easiest. For permanent installations, bolt-on options might be preferable for their security.
4. Durability and Material
Consider the environment your car is exposed to. If you live in an area with extreme weather or direct sunlight, UV-resistant plastics and durable rubber are important. Metal stops can be very strong but might scratch your rack or cargo if not designed thoughtfully.
5. Budget
Roof rack stops range from just a few dollars for basic rubber wedges to significantly more for integrated systems. Determine how much you’re willing to spend, but remember that safety should be your top priority. Investing in reliable stops is cheaper than dealing with a damaged load or an accident.
Here’s a quick checklist to guide your decision:
- What is the shape and size of my roof rack crossbars?
- What types of items will I be carrying most often?
- What is the weight and shape of my typical cargo?
- How often will I need to install or remove the stops?
- What are my local weather conditions?
- What is my budget for these accessories?
Step-by-Step: Installing and Using Roof Rack Stops
Installing and using roof rack stops is straightforward. Think of it as adding a simple checkpoint for your cargo.
Step 1: Gather Your Stops and Tools
Ensure you have the correct stops for your rack. You might need basic hand tools like a screwdriver or Allen wrench if your stops require them. Most stopper types, however, require no special tools.
Step 2: Prepare Your Crossbars
Make sure your roof rack crossbars are clean and free of dirt or debris. This ensures a good fit and prevents the stops from slipping or damaging the rack.
Step 3: Attaching the Stops
The method will vary depending on the type of stop:
- Clip-on/Snap-on: These usually have a flexible opening that you spread slightly to fit over the crossbar. Push them on until they feel snug and secure. Sometimes there’s a latch or screw to tighten them down.
- Strap-on: These have straps (often Velcro or a buckle) that wrap around the crossbar and secure the stop in place. Tighten these firmly.
- Bolt-on (for integrated systems): These will align with pre-drilled holes or slots on your crossbar or rack system. Use the provided hardware to bolt them securely.
Placement: Decide where you want your stops. For general cargo, place them towards the inner sections of your crossbars to define the “parking spots” for your gear. If you’re carrying long items like lumber, you might want stops closer to the ends to prevent forward/backward slide, and potentially add other tie-down points as well. A good starting point is to position them about 6-12 inches from the outer edges of the crossbars, depending on the width of your load.
Step 4: Loading Your Cargo
With the stops in place, begin loading your gear. Position the items so they rest snugly against the stops. This gives you a clear reference point for where your cargo should sit.
Step 5: Securing Your Cargo
This is where the stops work in conjunction with your tie-down straps or cargo nets.
- Tie-Down Straps: Run your straps over the cargo and under the crossbars. Tighten them firmly. The stops prevent the main body of the cargo from shifting, while the straps keep it compressed and locked down. Ensure straps are routed so they don’t chafe against the cargo or crossbars.
- Cargo Nets: Drape the net over the cargo and secure its anchor points to the rack or vehicle.
For maximum security, it’s always recommended to tie down your load from multiple points. Check out resources like Federal Highway Administration for guidelines on securing loads.
Step 6: Final Check
Before you drive off, give everything a good shake and tug. Push on the cargo from different angles. It should feel solid and immobile. Check that your stops haven’t shifted and that your straps are tight and secure. A quick visual inspection confirms everything is as it should be.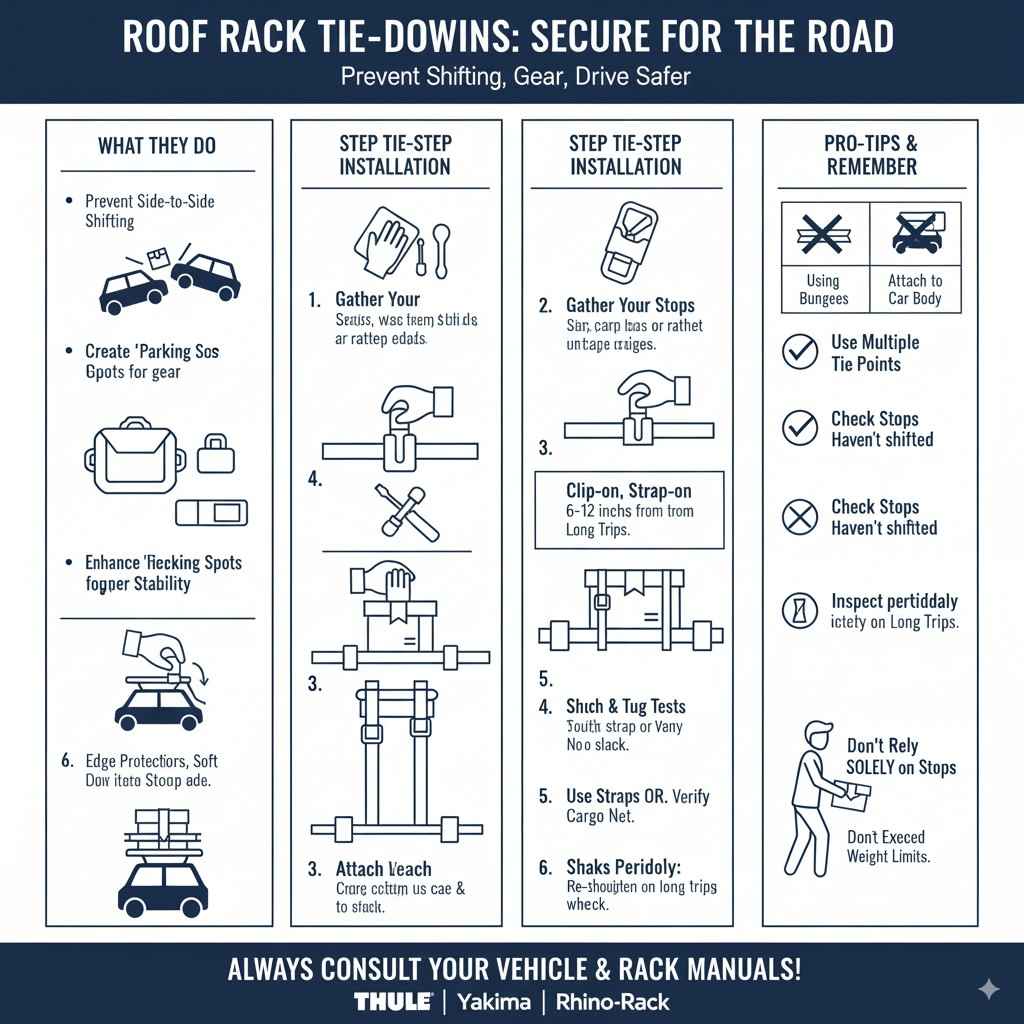
Tips for Optimal Use:
- Pre-tension your straps: Tighten them once, then re-tighten after a short drive to account for any compression in your load.
- Use multiple tie-down points: Don’t rely on a single strap.
- Regularly inspect your setup: Before and during long trips, check your cargo and the stops for any signs of loosening or wear.
- Consider the direction of travel: If you’re carrying long items like lumber, ensure the stops are positioned to prevent forward movement during braking.
Advanced Cargo Security and Related Accessories
Roof rack stops are a fantastic foundation for securing cargo, but they often work best when paired with other accessories. Thinking about these can elevate your cargo-hauling game.
1. Tie-Down Straps and Ratchets
These are your primary cargo restraint. While simple webbing straps are common, cam straps (for light loads) and ratchet straps (for heavier loads) offer more secure tightening. Look for straps made of durable, UV-resistant material. The National Highway Traffic Safety Administration (NHTSA) emphasizes proper load securement as a critical safety aspect.
2. Cargo Nets
Great for securing smaller, irregularly shaped items that might otherwise fall through the gaps between straps. Ensure it has strong anchor points and a good, tight weave.
3. Cargo Cases and Boxes
For weather protection and theft deterrence for softer items like luggage, a dedicated roof box is an excellent investment. These often have integrated locking mechanisms and can be positioned against roof rack stops if needed.
4. Load Securing Straps with Integrated Guides
Some advanced straps have special designs to prevent them from sliding across your crossbars, further enhancing stability, especially on aero-style crossbars.
5. Ladder Holders and Specialized Carriers
For specific items like ladders, kayaks, bikes, or skis, dedicated carriers are often the safest and most efficient solution. These carriers usually have their own securing mechanisms and often incorporate elements that function like integrated stops.
6. Non-Slip Mats
Placing a non-slip mat under your cargo can add friction and prevent minor sliding, working in harmony with your stops and straps.
Combining these accessories with your roof rack stops creates a robust cargo management system, ensuring that your gear arrives safely and securely, no matter the journey.
Frequently Asked Questions (FAQ) About Roof Rack Stops
Q1: Are roof rack stops really necessary if I use tie-down straps?
Yes, they are highly recommended! While tie-down straps keep your cargo compressed, stops provide a physical barrier that prevents the cargo from sliding against the straps. This is especially crucial during sudden stops or sharp turns, significantly improving overall stability and safety.
Q2: Will roof rack stops fit any type of roof rack?
Many universal stops are designed to fit a wide range of common crossbar shapes (square, round, aero). However, it’s always best to check the specifications for both your roof rack and the stops to ensure compatibility. Custom or integrated stops are made for specific rack systems.
Q3: Can I use roof rack stops for very heavy loads, like construction materials?
For heavy or bulky loads, you’ll need robust, heavy-duty stops, often integrated or custom-fit ones. Always ensure your roof rack itself is rated for the weight of your cargo. Combine strong stops with high-quality, load-rated tie-down straps and ratchets for maximum security.
Q4: How do I prevent my roof rack stops from sliding on the crossbar?
Ensure you’ve chosen stops compatible with your crossbar shape. For clip-on or strap-on types, make sure they are tightened securely according to the manufacturer’s instructions. Some stops have rubber grips or specific channel designs that enhance their hold.
Q5: Can I leave roof rack stops on my rack all the time?
Yes, you can often leave them on, especially if they are made of durable, weather-resistant materials like UV-stable plastic or rubber. Check the manufacturer’s recommendation. For some integrated systems, they are a permanent part of the rack.
Q6: What is the difference between a roof rack stop and a tie-down anchor
1. Roof Rack Stop
- Purpose: Prevents items from sliding off the roof rack in a specific direction.
- Design: Usually a raised bar, block, or lip mounted at the ends of the roof rack or crossbars.
- Function: Acts as a physical barrier for gear like bikes, kayaks, luggage, or building materials.
- Example: When loading a kayak, a J-bar or foam block stop keeps it from sliding forward or backward.
2. Tie-Down Anchor
- Purpose: Provides a secure point to attach straps, ropes, or bungee cords to hold items in place.
- Design: Hooks, loops, or D-rings attached to the vehicle or roof rack.
- Function: Allows flexible securing of cargo in multiple directions. You can pull tight with a ratchet strap or rope.
- Example: After placing luggage on a roof rack, you use tie-down anchors to strap it down so it doesn’t move during transit.
Key Difference
- Roof rack stops block movement physically.
- Tie-down anchors secure items using straps or ropes.
Recent Posts
Jumper Cables With Bag: Heavy Duty Booster Cables for Easy Storage
There’s nothing more frustrating than turning the key in your car and hearing silence. A dead battery can ruin your day in an instant.You might feel stuck, stressed, and unsure what to do next....
Strong Ram 1500 Heavy Duty License Plate Frame for Ultimate Durability
There’s nothing more frustrating than struggling with a flimsy license plate frame that bends, rusts, or just doesn’t fit right on your Ram 1500. You want something strong and reliable that...