
Stop that annoying roof rack whistle for good! With a few simple steps and common household items, you can silence the wind and enjoy a peaceful drive. This guide shows you exactly how to find and fix the source of the noise, making your car quieter and your journeys more pleasant.
Ever hit the road and hear that high-pitched whistling sound? It’s often coming from your roof rack, a common annoyance for many drivers. This wind noise can be incredibly distracting, turning a relaxing drive into a frustrating one. But don’t worry, you don’t need to be a car expert or spend a fortune to fix it. This guide will walk you through everything, step-by-step, so you can finally enjoy a quiet ride again. We’ll show you how to identify the cause of the whistle and provide easy, effective solutions.
Why Do Roof Racks Whistle?
Roof racks, designed to carry extra gear, can become unintentional instruments played by the wind. The whistling sound is usually caused by air flowing over and around parts of the rack. Think of it like blowing over the top of a bottle; the air creates vibrations that we hear as a sound. On your car, this happens when the air hits oddly shaped or positioned bars and mounts.
Here are the main culprits:
Aerodynamics: The shape and angle of your roof rack bars are key. If they aren’t designed to cut through the wind smoothly, air can get trapped and create turbulence.
Gaps and Openings: Small gaps between the rack components, or between the rack and your car’s roof, can force air through, creating a whistling or humming noise.
Loose Parts: If any part of your roof rack isn’t secured tightly, it can vibrate with the airflow and produce sound.
Accessory Attachments: Sometimes, the accessories you attach to your roof rack (like ski carriers or bike mounts) can add to the problem.
Identifying the Source of the Whistle
Before you can fix the whistle, you need to pinpoint exactly where it’s coming from. This is the most important step! Trust your ears and do a little detective work.
Here’s how to find the source:
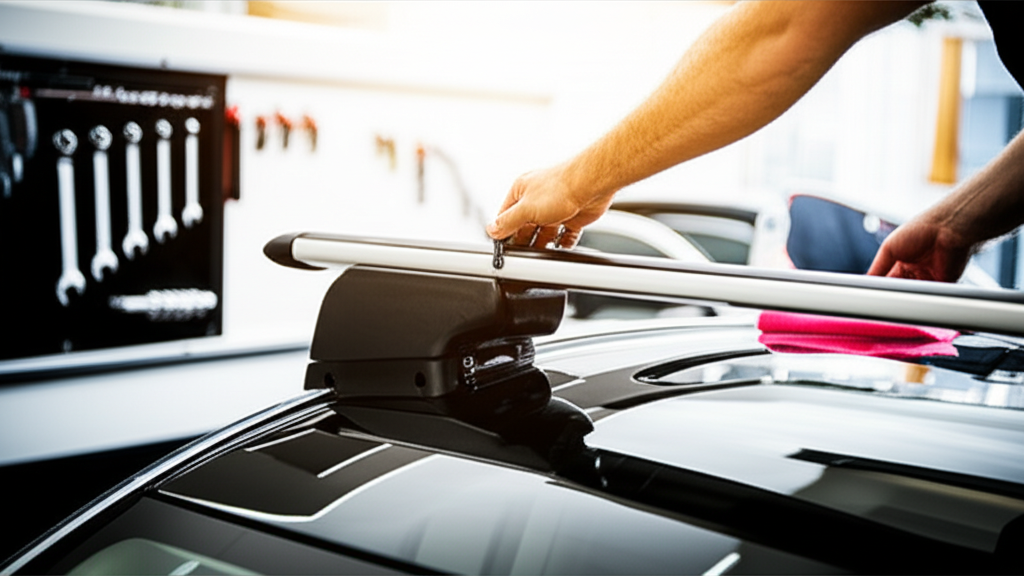
1. Start Simple: First, ensure your roof rack is properly installed and all components are tightened. A loose clamp can easily cause noise.
2. The Windows Test: Drive at a consistent speed (around 40-50 mph is usually good) where the whistle is noticeable. While driving, carefully roll down your window a few inches, one side at a time. Does the whistle get louder or quieter? If it changes significantly, the noise is likely coming from the roof rack on that side.
3. The Passenger Test: If you have a passenger, have them listen carefully. They can try to identify which part of the rack seems to be the loudest. They can even gently press on different parts of the rack while you’re driving (at a safe speed, of course!) – if the sound changes, you’ve found your problem area.
4. Static Inspection: When the car is parked, run your hand over all the bars, towers (the parts that attach to your car), and any clamps. Feel for anything loose, gaps, or rough edges.
5. Listen to Individual Bars: If you have crossbars, try to determine if the whistle is coming more from the front bar, the rear bar, or both.
Proven Solutions to Stop Roof Rack Whistling
Once you’ve got a good idea of where the whistle is originating, you can try one or more of these effective solutions. Many of these use simple, everyday items and require no special tools.
Solution 1: The Zip Tie Trick (For Crossbars)
This is a super simple and surprisingly effective method for reducing wind noise from crossbars. Air can create a vortex or eddy behind the bar, which can lead to noise. Adding a small piece of material can disrupt this.
What You’ll Need:
Several heavy-duty zip ties (black ones tend to blend in better)
Steps:
1. Locate the whistle: Based on your inspection, identify the crossbar(s) that seem to be the main source of the whistling.
2. Attach zip ties: Take a zip tie and thread it around the front edge of the crossbar, near where you suspect the noise is loudest. Don’t pull it super tight; you want it to create a small, stiff protrusion that will disrupt airflow. You can position it so it sticks out slightly.
3. Distribute and adjust: You might need to experiment with the placement. Try placing zip ties every few inches along the leading edge of the crossbar. Some people find placing them just on the ends, or a few spaced out, works best.
4. Trim excess: Once you’re happy with the placement, trim off the excess tail of each zip tie.
5. Test it out: Go for a drive and see if the whistle has diminished or disappeared. If not, try adding more zip ties, adjusting their position, or trying the next solution.
Solution 2: Rope or Paracord Method
Similar to the zip tie method, wrapping rope or paracord around the leading edge of your crossbars can change how the air flows, thereby reducing noise.
What You’ll Need:
Rope or paracord (around 1/8″ to 1/4″ diameter is good)
Scissors
Lighter or tape (to seal ends of synthetic rope)
Steps:
1. Identify the noisy bar: Again, focus on the crossbar(s) causing the whistle.
2. Wrap the bar: Start at one end of the crossbar. Tightly wrap the rope around the front edge of the bar, working your way along its length. You want the rope to be snug and consistent.
3. Secure the end: When you reach the other end, cut the rope and secure the end. If using synthetic rope (like paracord), carefully melt the end with a lighter to prevent fraying. If using natural fiber rope, you might need to tape the end securely.
4. Test and repeat: Take your car for a spin. If the whistle is still there, you can try adding more wraps of rope, wrapping a second layer, or applying this method to other crossbars.
Solution 3: Rubber Trim Sealant (Weather Stripping)
Wind noise can often be exacerbated by small gaps or uneven surfaces where the roof rack meets your car, or between components of the rack itself. Adding rubber trim can create a tighter seal and smooth out airflow.
What You’ll Need:
Automotive-grade rubber trim channel or weather stripping (available at auto parts stores or online)
Scissors or utility knife
Rubbing alcohol and a clean cloth
Steps:
1. Identify problem areas: Look for gaps between the rack towers and your car’s roof, or between crossbars and their mounts. Also, check for any rough edges on the rack components.
2. Clean the surfaces: Thoroughly clean the areas where you’ll be applying the trim with rubbing alcohol. This ensures good adhesion. Let it dry completely.
3. Cut the trim: Measure and cut lengths of rubber trim to fit the gaps or edges. Many types of trim come with an adhesive backing; ensure you’re applying it to a clean, dry surface.
4. Apply the trim: Carefully press the weather stripping into place. For channel-style trim, you might slide it over an edge. For adhesive strips, press firmly to ensure it bonds well.
5. Smooth and seal: Ensure the trim is seated correctly and creates a smooth transition.
6. Test drive: See if this has silenced the whistle. This method is particularly effective if the noise seems to come from where the rack mounts to your car.
Solution 4: Aerodynamic Fairings or Wind Deflectors
This is a more direct solution and often included with higher-end roof rack systems. A fairing is a curved shield that mounts to the front of your roof rack crossbars. It’s designed to redirect wind smoothly over the rack, preventing the turbulence that causes whistling.
What You’ll Need:
A roof rack fairing kit (ensure it’s compatible with your rack system)
Tools that come with the kit (usually basic wrenches or screwdrivers)
Steps:
1. Check compatibility: Make sure the fairing you purchase is designed for your specific roof rack model and vehicle.
2. Read the instructions: Fairing installation varies by brand. Carefully follow the manufacturer’s instructions.
3. Mount the fairing: Typically, the fairing will attach to the front crossbar using clamps or brackets.
4. Adjust for optimal airflow: You may need to adjust the angle of the fairing slightly to find the sweet spot for wind deflection.
5. Tighten all hardware: Ensure all bolts and clamps are securely tightened.
6. Test: Drive at various speeds to assess the noise reduction.
A good example of this principle can be seen in how truck bed covers are designed to reduce drag and wind noise. Similarly, a well-designed fairing smooths the airflow over the front of the rack setup.
Solution 5: Specialized Roof Rack Accessories
Many roof rack manufacturers offer accessories designed to reduce wind noise. These can include things like:
Aerodynamic crossbars: Some bars are shaped like wings or blades to cut through the air more efficiently. If your current bars are square or round, upgrading might be an option.
Noise-reducing strips: Some brands sell specific adhesive strips made of rubber or foam designed to fit into the channels of their crossbars or along edges to dampen sound. For instance, Thule and Yakima offer accessories that can help quiet their systems.
What You’ll Need:
Specific accessories from your roof rack manufacturer (check their website or contact customer support).
Tools as specified by the accessory’s instructions.
Steps:
1. Identify your rack brand: Know the manufacturer of your roof rack (e.g., Thule, Yakima, Rhino-Rack, etc.).
2. Research accessories: Visit the manufacturer’s website or consult your owner’s manual to see if they offer noise-reducing accessories for your model.
3. Purchase and install: Buy the recommended accessories and install them according to the instructions.
Solution 6: Lowering or Adjusting Roof Load
Sometimes, the load you carry on the roof rack can contribute to or alter the whistling sound.
What You’ll Need:
None, just observation.
Steps:
1. Test with and without load: If you notice the whistle most when your roof rack is loaded, try driving without any gear. If the whistle disappears or changes significantly, the load itself might be influencing the airflow around the rack.
2. Secure your load properly: Make sure any items loaded onto the rack are secured very tightly. Loose items can flap and create their own noises, or alter the aerodynamic properties of the whole setup.
3. Consider load placement: If the noise is present with a load, try rearranging the items slightly to see if it affects the sound. Sometimes shifting the weight or ensuring a smoother top surface can help.
Solution 7: Temporarily Removing the Rack
If you’re not using your roof rack regularly, a simple solution is to remove it when it’s not needed. Roof racks can add a considerable amount of wind noise and even slightly impact fuel efficiency when they’re installed but not carrying anything.
What You’ll Need:
The tools required to remove your specific roof rack model (usually included with the rack when purchased).
Steps:
1. Consult your manual: Refer to your roof rack’s installation manual for detailed instructions on removal.
2. Gather tools: Get the necessary wrenches, Allen keys, or screwdrivers.
3. Carefully detach: Loosen the clamps or bolts that secure the rack to your car’s roof rails or door frame.
4. Store safely: Store the rack components in a dry place to prevent damage and loss.
5. Test drive (optional): If you’re curious, take a short drive without the rack to confirm how quiet your car can be!
This requires a bit more effort but is a guaranteed way to eliminate rack noise if you don’t need it all the time.
How Different Roof Rack Types Affect Noise
The design and type of roof rack can significantly influence how much noise it makes. Understanding this can help you choose a quieter option or understand why your current rack whistles.
Here’s a quick look at common types and their tendencies:
| Roof Rack Type | Typical Noise Level | Primary Reasons for Noise |
| :———————- | :—————— | :———————————————————– |
| Square Bars | High | Square shape creates significant turbulence and wind drag. |
| Round Bars | Medium to High | Still creates some turbulence, though slightly better than square. |
| Aero/Wing Bars | Low to Medium | Shaped to mimic aircraft wings, designed for smoother airflow. |
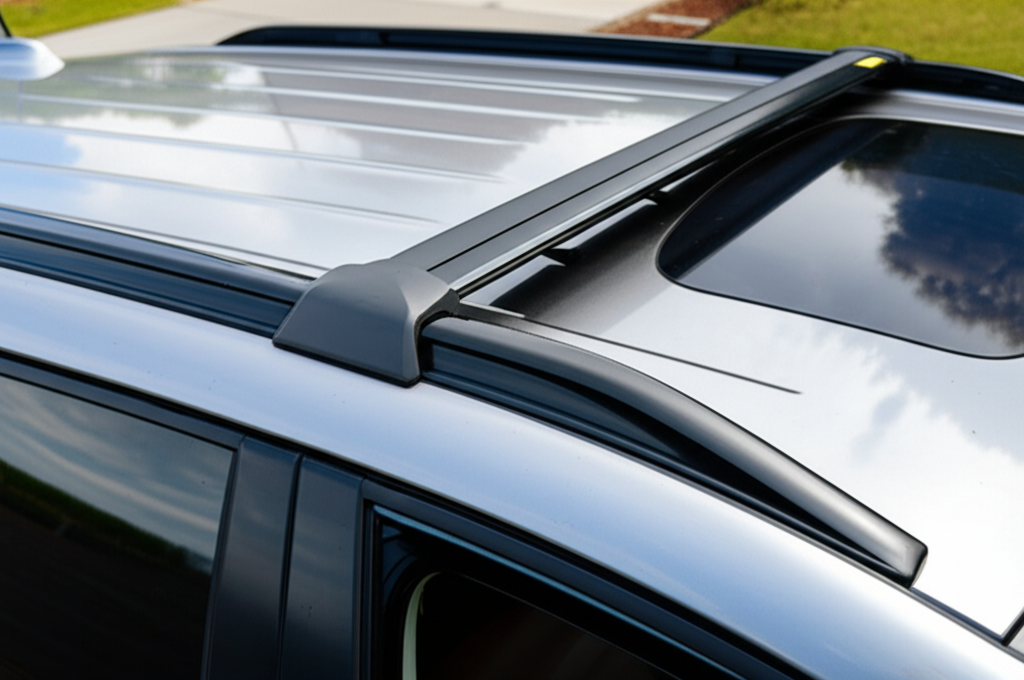
| Factory-Integrated | Low to Medium | Often designed with aerodynamics in mind, but can still whistle. |
| Crossbars with Load | Varies Highly | The load itself can create or amplify noise. |
Important Note on Aerodynamics: According to organizations like the National Highway Traffic Safety Administration (NHTSA), even small changes in a vehicle’s exterior, like adding a roof rack, can affect its aerodynamic performance and potentially increase noise levels. This is why specialized aerodynamic designs are so effective.
When to Consider Professional Help
While most roof rack whistling issues can be resolved with DIY methods, there are times when seeking professional advice might be the best course of action.
Consider professional help if:
You’ve tried all DIY solutions: If you’ve gone through the steps above and the whistle persists, a local automotive specialist or a reputable roof rack installer might have insights or specialized tools.
The noise is new and not directly related to the rack: If the whistling sound started suddenly and you can’t definitively link it to your roof rack, it could be a sign of another automotive issue, like a worn bearing or a different aerodynamic problem with your vehicle. The U.S. Department of Energy’s Fuel Economy website also notes that anything affecting a vehicle’s aerodynamics, including external accessories, can impact fuel efficiency and potentially create noise.
You’re uncomfortable with DIY: Your comfort and safety are paramount. If you don’t feel confident performing any of the steps, it’s always better to let a professional handle it.
* Your roof rack is damaged or improperly installed: If you suspect the rack itself is damaged or was never installed correctly, a professional can assess and repair or reinstall it.
A qualified mechanic or a shop specializing in vehicle accessories can often diagnose and fix persistent noise issues quickly and effectively.
Frequently Asked Questions About Roof Rack Whistles
Q1: Will using a roof rack always make noise?
A1: Not necessarily. Modern aerodynamic roof racks are designed to minimize wind noise. However, even the quietest racks can sometimes whistle, especially with certain accessories attached or at specific wind speeds.
Q2: Can a whistling roof rack affect my car’s fuel efficiency?
A2: Yes, a whistling or noisy roof rack often indicates increased wind resistance (drag). This extra drag means your engine has to work harder, which can lead to a decrease in fuel efficiency, especially at highway speeds.
Q3: What is the cheapest way to stop my roof rack from whistling?
A3: The cheapest and often most effective methods involve using everyday items like zip ties or rope/paracord wrapped around the leading edge of the crossbars. These techniques aim to alter airflow and reduce turbulence.
Q4: How much time should I spend trying to fix the whistle myself?
A4: Most often, identifying the source and applying a simple fix like zip ties or trim can take anywhere from 15 minutes to an hour. If you’ve spent a couple of hours on it without success, it might be time to consider other options.
Q5: Is it safe to drive with a whistling roof rack?
A5: A whistling sound itself is usually just an annoyance, not an immediate safety hazard. However, if the whistle is very loud and you suspect a part might be loose, it’s wise to check the rack’s security before driving at higher speeds. A loose rack could potentially become a hazard.
Q6: Can I use tape to stop the whistle?
A6: While strong, durable tape (like duct tape or specialized automotive tape) can temporarily help smooth airflow over edges or seal small gaps, it’s usually not a long-term solution. Tape can degrade in sunlight, weather, and with high speeds, potentially coming loose. It’s better used as a very temporary fix or to help secure ends of rope/zip ties.
Q7: Do all roof rack brands have different noise issues?
A7: Different brands and different models within a brand have varying levels of aerodynamic design. Brands focused on performance and touring, like Thule and Yakima, often have more aerodynamic options than basic, budget-friendly ones. However, even high-end racks can develop noise issues depending on installation, accessories, and age.
Conclusion
Dealing with a whistling roof rack doesn’t have to be a constant headache. By following these steps, you can tackle this common automotive annoyance with confidence. Remember, the key is to first identify the source of the sound, then apply a targeted, simple solution. From the quick fix of zip ties or rope to using specialized trim or even a fairing, there’s a method for every situation and budget.
Don’t let that annoying whistle detract from your driving pleasure or your peace of mind. With a little effort, you can restore the quiet comfort of your car and enjoy every journey, whether you’re
Recent Posts
Say goodbye to digging for your phone or spilling your coffee. A center floor console is the must-have car organizer that will instantly declutter your drive and streamline your commute.
Tired of uncomfortable car seats ruining your journey? Discover how a quality car seat cushion pad can transform every drive into your most comfortable ride yet.