
Make your roof racks quieter for a peaceful drive. Learn simple fixes like adding fairings, using different bar types, and proper installation to stop annoying wind noise. Enjoy a quieter ride in no time!
That constant hum or whistle from your roof racks can really make a car ride less enjoyable. It’s like a tiny orchestra playing a tune only you and your passengers can hear, and it’s often at its loudest on the highway. If this sounds familiar, you’re not alone! Many car owners experience this, and thankfully, there are straightforward ways to tackle it without needing a mechanic. We’re going to walk through some easy steps and smart tips to help you reclaim your quiet cabin and make those long drives a lot more peaceful.
Why Do Roof Racks Make Noise?
Roof racks are fantastic for carrying extra gear, from kayaks to luggage boxes. However, by their very design, they interact with the wind rushing over your car. This interaction can create turbulence. Think of how a flag flaps in the wind; something similar happens with your roof rack’s bars and accessories. This turbulence is what creates that noticeable noise, often described as a hum, whistle, or even a roar at higher speeds.
The shape of the bars, how they’re mounted, and even the specific accessories you attach all play a role. Aero bars, for instance, are shaped to be more aerodynamic and generally produce less noise than older, more square-shaped bars. Sometimes, it’s just a matter of how tightly things are secured, allowing vibrations to travel and amplify. The good news is that understanding these causes is the first step to fixing them.
Common Types of Roof Rack Noise
The sound your roof rack makes can vary. Recognizing the type of noise can sometimes point to a specific solution:
- Whistling: Often caused by air passing through small gaps or around specific shapes, especially at higher speeds.
- Humming: This can be a lower-frequency drone that seems to resonate with your car’s interior. It’s often related to the general airflow disturbance.
- Rattling: This usually means something isn’t secured properly. It could be the rack itself, or accessories attached to it.
- Whooshing or Roaring: Typically, this is the sound of significant wind turbulence, often more pronounced with certain bar styles or when carrying a large load uncovered.
Simple Fixes to Silence Your Roof Racks
Let’s get to the good stuff – how to actually make your roof rack quieter. We’ll start with the easiest fixes and move to slightly more involved ones. Remember, always prioritize safety. Make sure any adjustments you make don’t compromise the security of your roof rack or its load.
1. Install a Wind Fairing
A wind fairing is probably one of the most effective accessories you can add to quiet down your roof rack. It’s essentially a curved piece of plastic or metal that sits on the front edge of your roof rack, above the windshield. Its purpose is to smooth out the airflow as it hits your rack, reducing turbulence and, therefore, noise.
How it works: The fairing acts like a deflector, guiding the wind smoothly over the rack bars instead of letting it buffet them directly. This significantly cuts down on whistling and humming sounds.
Installation: Most fairings come with a universal mounting system, usually involving clamps that attach to your front crossbar. Follow the manufacturer’s instructions carefully to ensure a secure fit. Some may require basic tools like a wrench or screwdriver.
Considerations:
- Size: Make sure the fairing is suitable for the width of your roof and your specific rack system.
- Material: Look for durable materials like UV-resistant plastic.
- Aesthetics: While function is key, there are different styles available.
For more on aerodynamic design principles in automotive accessories, you might find resources from automotive engineering societies helpful. Organizations like the Society of Automotive Engineers (SAE) often publish research relevant to airflow and vehicle dynamics.
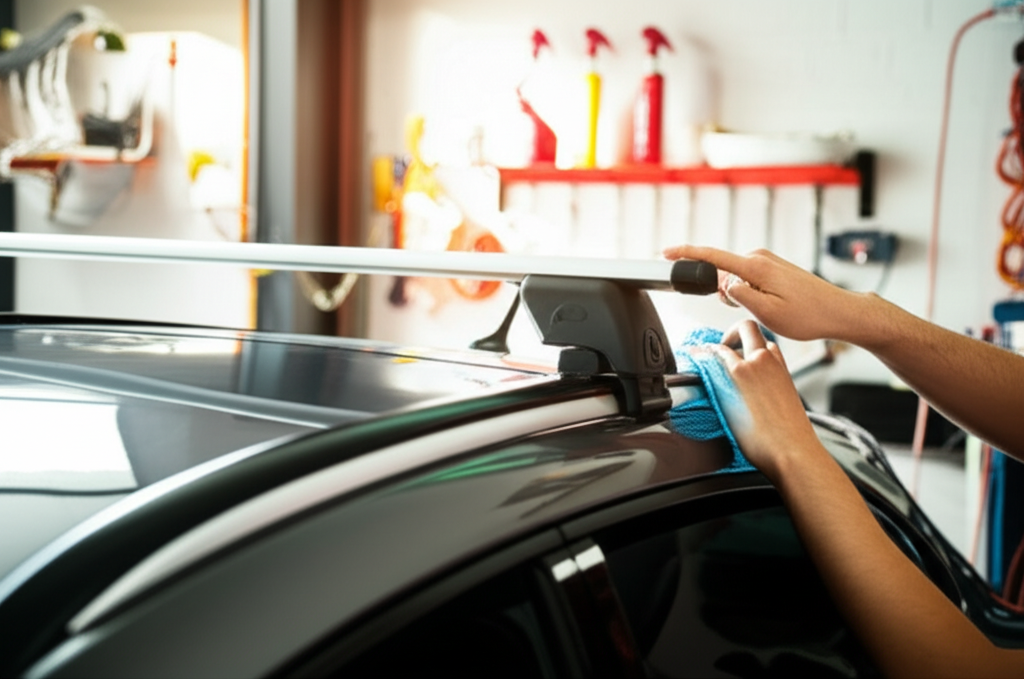
2. Check and Tighten All Mounts and Fasteners
Often, noise isn’t from the bars themselves, but from parts that are a little loose. Vibrations are amplified when anything connected to the rack can move even slightly. This is especially true for the feet that attach the rack to your car’s roof.
What to look for:
- The clamps or feet that grip your roof pillars or door frames.
- The bolts or screws that connect the crossbars to the feet.
- Any accessories you have attached, like cargo baskets or bike mounts.
How to do it:
- Gather your tools: You’ll likely need some basic wrenches, Allen keys (hex keys), or a screwdriver, depending on your rack system. These are usually included with the rack, or you can find universal sets at any hardware store.
- Systematic check: Go around your entire roof rack, starting from the front.
- Tighten carefully: Gently tighten each bolt or screw. Don’t overtighten, as this can strip the threads or damage the rack. The goal is to remove play, not to apply extreme force.
- Test: After tightening, gently try to wiggle each component. If there’s still movement, tighten a little more.
3. Adjust Bar Position (If Possible)
For some roof rack systems, you can slightly adjust the position of the crossbars. Sometimes, simply moving them a few inches forward or backward can change how they interact with the wind, reducing noise. This is particularly relevant if you have a factory-installed fixed-point system where the bars can only attach at specific locations.
Why it works: The airflow over your car isn’t uniform. Certain positions on your roof might be more prone to creating turbulence. Experimenting with the bar placement can help you find a “sweet spot” where the noise is minimized.
How to do it:
- Consult your manual: Check if your rack system allows for bar adjustment and how to do it safely.
- Loosen, reposition, retighten: Loosen the mounting hardware for one bar at a time.
- Experiment: Move the bar a few inches along the available mounting track or adjust the spacing between bars if your system allows.
- Secure and test: Retighten securely and check for noise at highway speeds. Repeat if necessary.
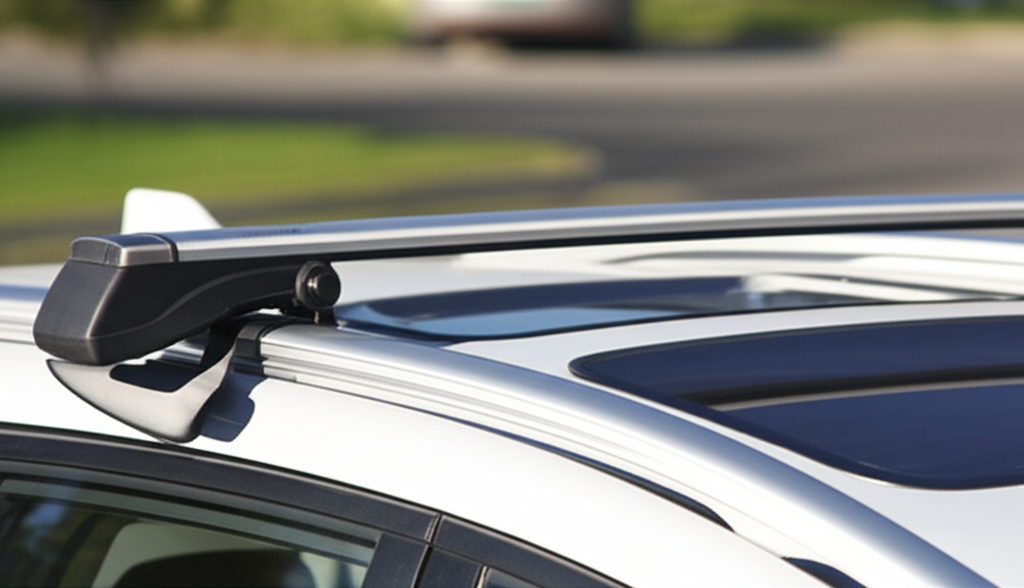
4. Try Different Types of Crossbars
Not all crossbars are created equal. The shape of the bar has a significant impact on its aerodynamic qualities and the noise it produces. If your current bars are older, square-sectioned, or heavily contribute to noise after other fixes, consider upgrading.
Types of Crossbars:
| Type of Bar | Pros | Cons | Noise Level |
|---|---|---|---|
| Square Bars | Generally the most affordable. Wide range of accessory compatibility. Sturdy. | Most prone to wind noise. Less aerodynamic. Can mark/scratch loads. | High |
| Round Bars | Simple design, often found on older or basic racks. | Can be noisy. Less aerodynamic than aero bars. Some modern accessories might not fit without adapters. | Medium-High |
| Aero/Wing Bars | Designed for minimal wind resistance. Significantly quieter. Often have integrated T-slots for accessory mounting. Sleeker look. | Usually more expensive. Accessory compatibility might require specific T-slot adapters. | Low |
If noise is a primary concern, investing in a set of aero bars is often the most effective long-term solution. They are specifically engineered to reduce drag and the resulting noise.
5. Add Rubber Trim or Tape
Small gaps or sharp edges on your roof rack can create wind whistles. You can often fix this by adding a simple material to smooth out these edges.
Materials to use:
- Automotive rubber trim molding: This is a flexible rubber strip with a hollow channel or adhesive backing. It’s designed to be pushed onto the edge of panels or to stick directly. You can find this at automotive parts stores or online.
- Weatherstripping tape: Standard self-adhesive weatherstripping for doors or windows can also work.
- Duct tape (temporary fix): While not ideal for long-term use, duct tape can sometimes help identify whistling points by temporarily covering them. If covering a spot silences the noise, you know that’s your problem area for a more permanent solution.
How to apply:
- Clean the area: Make sure the surface where you’ll apply the trim is clean and dry.
- Measure and cut: Measure the length of the edge you want to cover and cut the trim or tape to size.
- Apply carefully: For channel Molding, press the channel firmly onto the edge. For adhesive tape, peel off the backing and press it down smoothly.
- Focus on edges: Pay attention to the leading edges of bars, any open slots, or end caps.
For durable automotive solutions, look for products designed for outdoor use. Websites that sell car accessories or offer DIY car care tips can be good sources for finding suitable materials.
6. Secure Loose Accessories
If you carry gear on your roof rack, such as a cargo box, bike carrier, or kayak mount, any looseness in these accessories themselves can cause noise. Even if your rack bars are quiet, a rattling cargo box can ruin the peace.
What to check:
- Cargo Boxes: Ensure the latches are securely closed and that the clamps inside are fully tightened around the crossbars. Check for any loose panels or doors on the box itself.
- Bike Racks: Make sure the bike is cinched down firmly, and that the rack itself is tightly secured to the crossbars.
- Kayak/Canoe Mounts: Ensure straps and tie-downs are taut and that the cradles or mounts are firmly attached.
Pro Tip: Sometimes, adding a piece of foam or rubber padding between your gear and the rack can help dampen vibrations.
7. Use Aerodynamic Load Carriers
If you frequently carry bulky items like luggage, kayaks, or bikes, consider how these items themselves interact with the wind. Sometimes, the gear itself is the main culprit for noise.
Cargo Box Considerations: Modern cargo boxes are often designed with aerodynamics in mind. Look for boxes with smoother shapes and integrated fairings. Ensure the box is positioned correctly on the rack, as per its manual. Sometimes, a slight adjustment in how the box sits on the bars can drastically reduce noise.
Bike Racks: Fork-mounted bike racks tend to be quieter than frame-mounted ones because they present a smaller frontal area to the wind. If you use a roof box, ensure it’s completely closed and everything inside is secured.
Kayak/Canoe Carriers: Some kayak carriers are designed to be more aerodynamic. Also, ensure strapping is done without slack, as flapping straps can make a surprising amount of noise.
8. Explore Different Roof Rack Designs
If you have an older vehicle or an aftermarket rack that’s a few years old, the design might be inherently less aerodynamic. Newer roof rack systems often incorporate advanced technologies to minimize wind noise.
Integrated Racks: Some vehicles come with integrated roof rails or fixed mounting points that are designed to work with specific, often quieter, rack systems from the car manufacturer or reputable third parties. These are often designed to be sleek and less intrusive to airflow.
Aftermarket Systems: Companies like Thule, Yakima, and Rhino-Rack continually update their designs. Newer models of crossbars and foot packs are often quieter than their predecessors. If you’re in the market for a new system, specifically look for features advertised as “low profile,” “quiet drive,” or “aerodynamic.”
9. Consider the Spacing of Your Towers/Feet
The towers or feet are the components that connect the crossbars to your vehicle’s roof. In some systems, particularly those with roof rails or fixed points, adjusting the distance between these towers can affect noise. The ideal spacing often depends on your vehicle’s roof span and the load you intend to carry, but it can also influence airflow.
General Principle: While there’s no universal V formula, extremely close or extremely wide spacing can sometimes create different kinds of turbulence. If your rack system allows for adjustment beyond the manufacturer’s minimum/maximum recommendations, you might experiment, but always prioritize the load-carrying safety recommendations.
Consult Manufacturer Guidelines: Always refer to your specific roof rack’s installation manual. They will typically provide recommended spacing for different vehicles or types of loads, which is usually optimized for both strength and reduced noise.
10. Use Protective Sleeves or Wraps
For noise that seems to originate directly from the crossbars themselves, especially if they are of a shape that’s prone to noise (like square bars), you can wrap them with materials that alter the airflow or dampen vibrations.
Foam Pipe Insulation: This is a cheap and effective solution. You can buy foam pipe insulation tubes from hardware stores. They come in various diameters and are easy to cut and fit over your crossbars.
- Measure and Cut: Measure the length of your crossbar. Cut the foam insulation to size. You might need to make a slit down one side of the foam tube so it can open up and fit over the bar.
- Install: Slide the foam insulation onto the crossbar. It should fit snugly.
- Secure (Optional): For extra security, you can use strong, weather-resistant tape (like Gorilla Tape) to hold the foam in place, especially on the ends.
Fabric Wraps: Some people use specialized fabric covers or even heavy-duty fabric tape wrapped around the bars. This can also help break up the airflow and reduce whistling.
When to Seek Professional Help
While most roof rack noise issues are DIY-friendly, there are times when you might need a hand:
- Unidentified Noise: If you’ve tried several of these tips and the noise persists, it might be something more complex, perhaps related to the vehicle’s roof seal or a structural issue amplified by the rack.
- Complex Installations: If your vehicle has a panoramic sunroof or a particularly tricky roofline, fitting or adjusting a rack might require expertise.
- Damaged Components: If you suspect a part of the roof rack itself is damaged (cracked, bent, etc.), it’s safer to let a professional inspect it.
For professional installation or consultation, look for reputable auto accessory shops or automotive repair centers that specialize in roof systems. They can often identify the source of persistent noise and offer tailored solutions.
Frequently Asked Questions About Quieting Roof Racks
Q1: How do I know if my roof rack is installed correctly?
A: A correctly installed roof rack will feel solid with no excessive movement when you try to wiggle it. All mounting points should feel snug. Check your owner’s manual for specific torque settings and ensure all parts are aligned as instructed. Importantly, it should not make loud noises at low speeds.
Q2: Will a wind fairing fit any roof rack?
A: Most universal wind fairings are designed to fit a wide range of crossbar shapes and sizes. However, it’s crucial to check the specifications of the fairing and your roof rack system to ensure compatibility before purchasing. Some vehicle-specific rack systems might have integrated fairing options.
Q3: Is it safe to drive with noisy roof racks?
A: While noise itself isn’t typically a safety hazard, persistent noise can sometimes indicate that the rack isn’t securely fastened, which is a safety issue. A loose rack can become dislodged, especially at highway speeds, posing a serious risk. Always ensure your rack is properly installed and tightened.
Q4: Can I make my old square crossbars as quiet as aero bars?
A: You can significantly reduce the noise from square crossbars with techniques like adding rubber trim, foam insulation, or a fairing. However, they are fundamentally less aerodynamic. While you can make them much quieter, they may still produce more noise than modern aero bars designed for low drag and minimal sound.
Q5: Do roof rack towers make noise?
A: Yes, the towers (or feet) that attach to your car’s roof can be a source of noise, especially if they create turbulence where they meet the roof or the crossbars. Ensuring these are
Recent Posts
Jumper Cables With Bag: Heavy Duty Booster Cables for Easy Storage
There’s nothing more frustrating than turning the key in your car and hearing silence. A dead battery can ruin your day in an instant.You might feel stuck, stressed, and unsure what to do next....
Strong Ram 1500 Heavy Duty License Plate Frame for Ultimate Durability
There’s nothing more frustrating than struggling with a flimsy license plate frame that bends, rusts, or just doesn’t fit right on your Ram 1500. You want something strong and reliable that...