
Car Shifts Hard When Cold? Essential Fixes Explained Simply.
Is your car’s transmission feeling a bit grumpy in the cold? When your vehicle shifts hard after being parked overnight or after a cold spell, it can be quite unnerving. Don’t worry, this is a common issue many drivers face. This guide will walk you through the likely causes and simple fixes, giving you the confidence to understand and even tackle these problems yourself. Ready to get your car shifting smoothly again?
It’s that moment you dread: you start your car on a chilly morning, and instead of a smooth transition into gear, you get a jolt. A hard shift when cold can feel like your car is complaining loudly about the temperature. This isn’t just an annoyance; it could be a sign that something in your transmission needs attention. But before you panic and head straight to the mechanic’s shop, let’s explore why this happens and what you can do about it. We’ll make understanding your car’s transmission a lot less mysterious, step by step.
Understanding Why Your Car Shifts Hard When Cold
When the weather chills, the fluids in your car, especially the transmission fluid, become thicker. Think of it like honey on a cold day – it pours much slower and more sluggishly than when it’s warm. This thicker fluid doesn’t flow as easily through the intricate passages of your transmission. This can cause delays and pressure issues, leading to those jarring shifts you feel. It’s your transmission’s way of saying, “I need a little help to warm up and work properly!”
Another factor is that rubber and plastic components within the transmission can also contract slightly in the cold. This can lead to minor leaks or affect the seals, further impacting fluid pressure and shift quality. Seals and gaskets are vital for maintaining the correct hydraulic pressure needed for smooth gear changes. When they stiffen with cold, they might not seal as effectively, leading to subtle fluid loss or internal problems.
Modern automatic transmissions are complex systems. They rely on precise hydraulic pressure controlled by a variety of sensors, solenoids, and valves. When these components are cold, their performance can be temporarily affected, leading to what’s known as “cold-weather drivability issues.” This is particularly true for older transmissions or those that haven’t had their fluids changed according to the manufacturer’s schedule.
Here’s a quick look at the main culprits:
- Thick Transmission Fluid: The most common reason. Cold makes the fluid less fluid, hindering smooth operation.
- Worn Seals and Gaskets: Cold can make rubber parts stiff, potentially causing leaks or pressure loss.
- Low Fluid Level: If there isn’t enough fluid, it can’t properly lubricate and cool, especially when it’s cold and thick.
- Internal Transmission Issues: Sometimes, it points to more significant problems within the transmission itself.
- Sensors and Solenoids: Electrical components controlling shifts might act up when cold.
Troubleshooting Steps: Your Go-To Guide
Let’s break down how to figure out what’s causing that hard shift. We’ll start with the easiest checks and move towards slightly more involved ones. Remember, safety first! If you’re ever unsure or uncomfortable, it’s always best to consult a qualified mechanic.
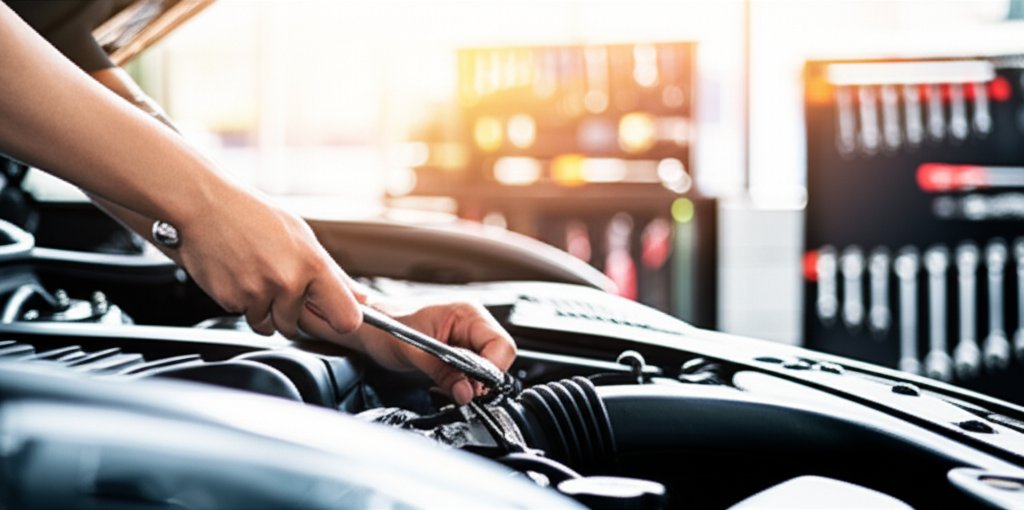
Step 1: Check Your Transmission Fluid Level and Condition
This is the most crucial and often overlooked step. Transmission fluid is like the lifeblood of your transmission. If it’s low or dirty, it can’t do its job effectively, especially when temperatures drop.
How to Check Transmission Fluid:
The procedure can vary slightly between car models, so consulting your owner’s manual is always a good idea. However, here’s a general guide:
- Park on a Level Surface: This ensures you get an accurate reading.
- Warm Up the Engine: For many cars, the transmission fluid needs to be warm (but not hot!) for an accurate check. Drive for about 10-15 minutes.
- Engage the Parking Brake: Make sure it’s securely on.
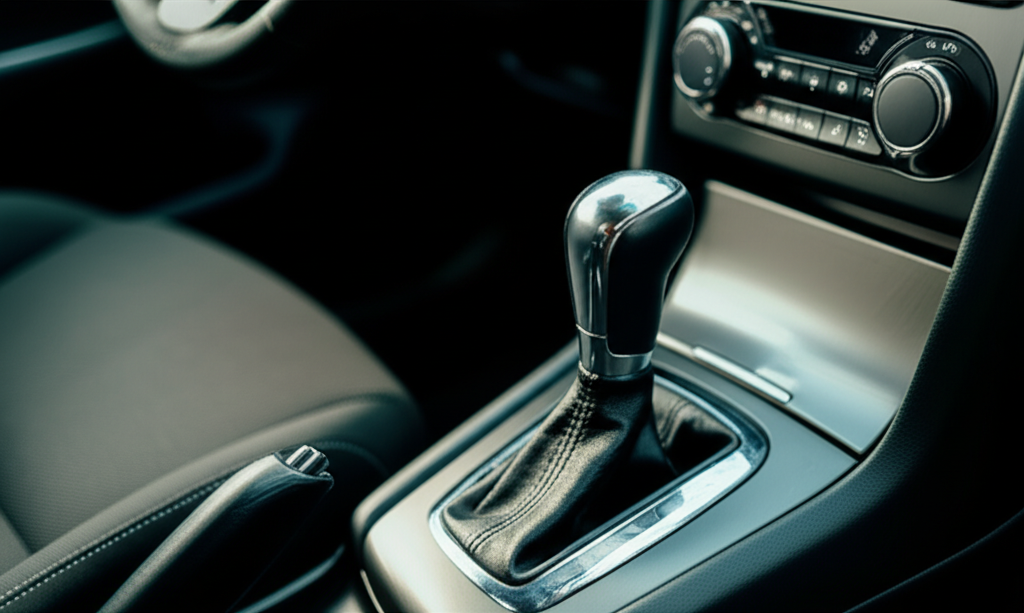
- Shift Through Gears (with foot on brake): Slowly move the gear selector through each gear (Park, Reverse, Neutral, Drive, etc.), pausing for a few seconds in each. This helps circulate the fluid.
- Locate the Dipstick: In most cars, the transmission dipstick is often brightly colored (yellow or red) and might be labeled “ATF” or have a transmission symbol. It’s usually located towards the back of the engine bay. Some newer vehicles might not have a dipstick; these require a different procedure, often involving a special tool and checking from underneath the vehicle while it’s running. Consult your manual!
- Pull and Check the Fluid: Carefully pull out the dipstick. Wipe it clean with a lint-free cloth. Reinsert it fully. Pull it out again to check the level.
- Read the Level: There will be markings on the dipstick indicating the correct fluid level (e.g., “HOT” or “COLD” ranges, “ADD,” “FULL”).
- Assess Fluid Condition:
- Color: Healthy transmission fluid is usually bright red and clear.
- Smell: It should have a slightly sweet smell. Burnt toast or a strong chemical smell indicates potential problems.
- Texture: It should be smooth. If it feels gritty or has metal shavings, it’s a serious sign of internal wear.
What to do:
- If the fluid is low: Top it off with the correct type of transmission fluid specified in your owner’s manual. You can usually find this at auto parts stores. Adding the wrong type can cause significant damage.
- If the fluid is dirty or burnt: This indicates it’s time for a transmission fluid change. This might resolve the hard shifting issue.
Step 2: Consider a Transmission Fluid and Filter Change
If your fluid level is okay but the fluid is dark, smelly, or hasn’t been changed in a long time (check your maintenance records or manual for the interval, often around 30,000 to 60,000 miles), a fluid and filter change can work wonders. This is especially true if the hard shifting is a relatively new problem. Fresh fluid is thinner and flows better, even in the cold, and a new filter ensures cleaner fluid circulation.
Why this helps when cold: Old, degraded fluid loses its viscosity index improvers, meaning it thickens up much more dramatically in the cold than fresh fluid. A fluid change restores these properties. The new filter also removes accumulated debris that can restrict fluid flow.
For a DIYer, changing the transmission filter can be a bit more involved than an oil change, often requiring lifting the vehicle and dealing with the transmission pan, which can be heavy and messy. If you’re not comfortable with this, this is where a trusted mechanic can step in.
Step 3: Inspect for External Fluid Leaks
Sometimes, hard shifts are a symptom of low fluid due to a leak. Cold temperatures can sometimes exacerbate minor leaks because seals contract.
Where to look for leaks:
- Transmission Pan Gasket: Look for wetness or drips around the edge where the transmission pan attaches to the transmission body.
- Seals: Check the seals around the transmission cooler lines, the shift linkage, and the output shaft seals. You might see fluid on the ground under your car after it has been sitting, especially after a cold night.
- Drain and Fill Plugs: Ensure these are tight and not weeping fluid.
If you spot any fluid leaks, it’s essential to get them repaired promptly. Even a small leak can lead to low fluid levels over time, causing transmission damage. A qualified mechanic can identify the source of the leak and replace the faulty seal or gasket.
Step 4: Check Engine and Transmission Mounts
Engine and transmission mounts are rubber and metal components that hold your engine and transmission in place. They absorb vibrations and cushioning the impact of gear changes. When these mounts wear out or crack, especially in cold weather where rubber can become more brittle, they lose their ability to cushion. This can make normal shifts feel much more jarring or “hard” because the engine and transmission aren’t being held securely.
Signs of bad mounts:
- Excessive vibration when the engine is running, especially at idle.
- Clunking or thudding noises when shifting gears, accelerating, or braking.
- The engine or transmission appears to be sagging or misaligned.
Replacing mounts often requires supporting the engine/transmission and can be a moderately difficult DIY job. It involves unbolting the old mounts and bolting in new ones. Given the critical role they play in vehicle stability and comfort, it’s a repair many prefer to leave to professionals.
Step 5: Consider Solenoid Issues
Automatic transmissions use electronic solenoids to control the flow of transmission fluid, which engages and disengages different gears. In very cold weather, these solenoids can sometimes become sluggish or operate intermittently. If a solenoid isn’t working correctly when cold, it can cause delayed or harsh shifts.
Symptoms:
- Jerky shifts, particularly in specific gears.
- The transmission may hesitate to shift.
- Check Engine Light might illuminate, often with a transmission-related trouble code.
Diagnosing and replacing solenoids usually requires specialized diagnostic tools and knowledge of the transmission’s internal electronics. This is typically a job best left to a mechanic, especially if you’re seeing a Check Engine Light. They can scan for codes and pinpoint the faulty solenoid.
Step 6: Evaluate External Temperature Effects
Sometimes, the issue is less of a “fix” and more of a “wait it out.” As mentioned, transmission fluid thickens in the cold. This means it will naturally take longer for your car to shift smoothly on a very cold morning. As the car warms up from driving, the fluid thins out, and shifting should become smoother.
What you can do:
- Gentle Driving: On very cold mornings, drive gently for the first few minutes. Avoid aggressive acceleration.
- Allow Warm-up: Let your car idle for a minute or two before driving if possible. This helps circulate the oil and transmission fluid a bit.
- Observe: Does the problem disappear after 5-10 minutes of driving? If so, it’s likely just a normal cold-weather characteristic exacerbated by fluid viscosity. If it persists or gets worse, then further investigation is needed.
It’s wise to understand the National Highway Traffic Safety Administration’s recommendations on vehicle maintenance. Keeping up with fluid checks and changes is a cornerstone of ensuring your transmission functions reliably, regardless of the weather. You can find more information on general vehicle maintenance at NHTSA’s Car Maintenance page.
Essential Tools and Supplies for DIY Checks
Before you start poking around your car, having the right tools and supplies makes the job easier and safer. For the basic checks, you won’t need much, but for more involved steps, here’s a list. Remember to always wear safety glasses to protect your eyes!
Basic Checks (Fluid Level/Condition):
- Lint-free rags or paper towels
- Owner’s manual (crucial!)
- Gloves (optional, but good for keeping hands clean)
- Safety glasses
For Fluid Top-Off:
- The correct type of transmission fluid (check your owner’s manual!)
- A funnel with a long, flexible neck
For Fluid and Filter Change (More Advanced):
- Jack stands (NEVER rely on a jack alone)
- Wheel chocks
- Socket set and wrench set (metric and standard)
- Torque wrench (for tightening the drain plug and pan bolts correctly)
- New transmission pan gasket
- New transmission filter and O-ring
- Transmission fluid pan (to catch old fluid)
- RTV sealant (if your gasket requires it)
- Drain pan for old fluid (at least 5-quart capacity)
- Fluid pump or transfer pump (to refill the transmission)
- Service manual for your specific vehicle (highly recommended)
- Gloves and safety glasses
- Oil absorbent pads or kitty litter (for spills)
Always dispose of old fluids responsibly. Many auto parts stores have recycling programs for used motor oil and transmission fluid.
When to Call a Professional Mechanic
While many car troubles can be addressed with simple DIY steps, some issues require expert attention. If you’ve checked your fluid, and it’s in good condition and at the proper level, but the hard shifting persists, it’s time to consider professional help. Here are some indicators that it’s time to call in the pros:
- Persistent Hard Shifting: If the problem doesn’t improve after checking and topping up or changing the fluid, there might be a deeper issue.
- Strange Noises: Grinding, whining, or clunking sounds are not to be ignored.
- Transmission Slipping: If the engine revs up, but the car doesn’t accelerate, or if the gear seems to disengage unexpectedly.
- Check Engine Light: If this warning light comes on, it often indicates a problem with sensors, solenoids, or other internal transmission components that require diagnostic tools.
- Burning Smell: A strong, acrid burning smell from your transmission is a serious warning sign.
- Red Fluid with Metal Shavings: This indicates significant internal wear and potential damage.
- Lack of Confidence: If you’re uncomfortable performing any of the checks or repairs, it’s always safer to let a professional handle it.
A qualified transmission specialist or mechanic has the diagnostic equipment and expertise to accurately pinpoint the cause of hard shifting and perform the necessary repairs. This could range from replacing faulty sensors or solenoids to more extensive internal transmission repairs or even a full rebuild.
Cost Comparison: DIY vs. Professional Repair
Understanding the potential costs involved can help you make informed decisions about your car’s maintenance and repair.
DIY Estimated Costs:
For basic checks and topping up transmission fluid,
- Transmission Fluid: $10 – $30 per quart (you might need 3-5 quarts for topping up)
- Funnel: $5 – $15
- Rags: Variable
For a full fluid and filter change (if you have the tools and time):
- Transmission Fluid: $40 – $150 (depending on fluid type and quantity)
- Transmission Filter Kit: $20 – $70
- Gasket: $15 – $40
- Consumables (sealant, etc.): $5 – $20
- Tool Rental (if needed): Varies
Total DIY (Fluid & Filter): $80 – $280 (estimate, not including tool purchases)
Professional Repair Estimated Costs:
These are general estimates and can vary significantly by region, vehicle make/model, and the specific repair needed.
| Service | Estimated Cost Range | Notes |
|---|---|---|
| Transmission Fluid & Filter Change | $150 – $350 | Includes fluid, filter, labor. |
| External Fluid Leak Repair (Seal/Gasket) | $200 – $600 | Depends on location and labor. |
| Solenoid Replacement | $400 – $800+ | Can vary based on number of solenoids and accessibility. |
| Transmission Mount Replacement | $300 – $700 | Includes parts and labor. |
| Transmission Diagnosis | $100 – $200 | Often applied towards repair cost. |
As you can see, DIY saves money on labor but requires your time and effort. More complex repairs are usually best left to the professionals to ensure they are done correctly and safely.
Preventative Maintenance: Key to a Smooth Ride
The best way to avoid the headache of a car shifting hard when cold is through smart preventative maintenance. It’s all about staying ahead of potential problems and keeping your vehicle happy.
Regular Fluid Checks and Changes
Preventative Maintenance: Key to a Smooth Ride
The best way to avoid the headache of a car shifting hard when cold is through smart preventative maintenance. It’s all about staying ahead of potential problems and keeping your vehicle happy.
Regular Fluid Checks and Changes
Follow your manufacturer’s schedule for transmission fluid changes (often every 30,000–60,000 miles).
Use only the correct fluid type for your vehicle.
Inspect fluid at least twice a year, especially before and after winter.
Warm Up Gently
On cold mornings, allow your vehicle to idle briefly before driving.
Drive gently for the first few miles, avoiding heavy acceleration until the transmission warms up.
Routine Inspections
Have a mechanic check seals, gaskets, and mounts during scheduled maintenance.
Keep an eye on leaks, unusual noises, or changes in shift quality.
By staying on top of these small habits, you can extend the life of your transmission and save yourself from costly repairs down the road.
FAQ: Car Shifts Hard When Cold
Q1: Why does my car shift hard only when it’s cold?
A1: Cold temperatures thicken transmission fluid and stiffen seals, making gear changes harsher until the system warms up.Q2: Can low transmission fluid cause hard shifting in cold weather?
A2: Yes. Low fluid means poor lubrication and weak hydraulic pressure, which makes cold shifting worse.Q3: Should I let my car warm up before driving in winter?
A3: Yes. Allowing 1–2 minutes of idling helps the transmission fluid circulate before putting the car under load.Q4: How often should transmission fluid be changed?
A4: Typically every 30,000–60,000 miles, but always follow your vehicle’s manufacturer recommendations.Q5: When should I see a mechanic about hard shifting?
A5: If the issue persists after a fluid change, or if you notice burning smells, slipping gears, or metal shavings in the fluid, professional service is necessary.✅ Final Takeaway:
A hard shift when cold doesn’t always mean a failing transmission—it’s often fluid-related or due to minor wear and tear. With regular fluid changes, gentle cold-weather driving, and timely maintenance, you can keep your transmission running smoothly for years.
Recent Posts
10 Best License Plate Frames for Popular Cars: Stylish & Durable Picks
Have you ever struggled with a loose or rusty license plate frame that just won’t stay put? It’s frustrating when your car’s look feels unfinished or when a noisy frame distracts you on every...
Best Tesla Model 3 & Model Y License Plate Frames No Drill Options
Have you ever struggled with installing a front license plate on your Tesla Model 3 or Model Y? Drilling into your sleek car’s bumper can feel wrong and risky.It’s frustrating to think about...