
No, you cannot put tint on the outside of a car window. Car window tint is designed to be applied to the interior surface of the glass. Applying it to the exterior would be ineffective, short-lived, and could lead to significant problems. This guide explains why and what you should know about proper window tinting.
Ever wondered if you could slap some window tint directly onto the outside of your car windows, like a sticker? It’s a common question, especially when thinking about making that cool, dark look happen quickly and easily. Many of us want that sleek, uniform appearance for our vehicles, and the idea of just sticking tint on the outside might seem like a convenient shortcut. However, car tinting isn’t quite that simple. The good news is that understanding the process will help you achieve that desired look safely and effectively. Let’s dive into why the outside isn’t the place for tint and what the right way to tint your windows involves.
Why You Can’t Tint the Outside of Your Car Windows
It might seem like a simple solution to apply window tint film to the exterior of your car windows, but it’s a misconception that leads to problems. The specialized adhesive and composition of window tint film are designed for a very specific environment – the inside of your car.
Thinking about applying tint on the outside pops into many DIYers’ heads. Perhaps it seems easier to reach, or maybe you’re envisioning a quick fix. But the reality is that window tint film is a delicate product meant to bond securely to clean glass from the inside. When exposed to the elements on the exterior, it faces a barrage of issues that quickly render it useless and potentially damaging.
Let’s break down the key reasons why putting tint on the outside of your car window is a bad idea:
- Durability and Degradation: Automotive window tint is manufactured to withstand the controlled environment inside a vehicle. It’s not built to endure constant exposure to rain, snow, dirt, road salt, debris from other vehicles, UV rays from above, and frequent washing. Without protection, the film would quickly become scratched, torn, faded, and peel away.
- Adhesion Issues: The adhesive on window tint film is designed to bond with clean, dry glass on the interior. When applied to the exterior, it won’t have a strong, lasting grip. The moisture, dirt, and temperature fluctuations on the outer surface would prevent proper adhesion, causing bubbles and lifting almost immediately.
- Scratching and Damage: Imagine driving down the road. Tiny particles of dust, sand, and grit are constantly hitting your car. On the outside of the window, these would rapidly scratch and mar the delicate surface of the tint film. A squeegee or even a harsh brush during washing would cause irreversible damage, making your windows look worse than before.
- Legality and Visibility: In most places, there are strict laws regarding the amount of light that must pass through your car windows. Applying tint to the outside would likely alter the clarity and appearance in a way that could be ambiguous to law enforcement. Furthermore, any imperfections, especially from exterior application, could impede your visibility.
- Aesthetics: Even if you could somehow attach it, a poorly applied, scratched, or peeling exterior tint would look unprofessional and detract significantly from your car’s appearance. The smooth, even finish achieved by interior application is crucial for that desired look.
The Proper Way: Interior Window Tinting
Car window tint is specifically engineered to be applied to the inside surface of your vehicle’s glass. This is where it can adhere correctly, withstand regular use, and provide the intended benefits.
When you see vehicles with perfectly tinted windows, it’s almost always done from the inside. This method ensures the tint film is protected from the harshness of the road and the weather. The interior application allows the tint’s adhesive to form a strong bond with the glass, creating a smooth, bubble-free finish.
The Benefits of Window Tinting (Applied Correctly!)
Applying window tint the right way, on the interior, brings a host of advantages. It’s not just about looks; it’s about comfort, protection, and longevity.
Key Advantages:
- UV Protection: High-quality window tint blocks a significant percentage of harmful ultraviolet (UV) rays. This helps protect your skin and eyes from sun damage, and also prevents your car’s interior – dashboard, seats, and other materials – from fading and cracking due to sun exposure. According to the American Cancer Society, protecting yourself from UV radiation is crucial for preventing skin cancer.
- Heat Reduction: Tinted windows can dramatically reduce the amount of heat that enters your car. This makes your cabin more comfortable on hot, sunny days, and can decrease your reliance on air conditioning, potentially saving on fuel.
- Glare Reduction: Tint helps to cut down on blinding glare from the sun and headlights, improving driving visibility and reducing eye strain.
- Privacy and Security: Tinted windows offer increased privacy for you and your passengers. They can also deter smash-and-grab thieves by making it harder to see what’s inside your car.
- Shatter Resistance: In the unfortunate event of an accident or break-in, window tint film can help hold shattered glass together, reducing the risk of injury from flying glass shards.
- Aesthetics: Let’s be honest, tinted windows often give a car a sportier, more sophisticated, and finished look.
Understanding Window Tint Film Types
Not all window tint is created equal! Different types of films offer varying levels of performance, durability, and cost. Knowing these differences can help you choose the best option for your car.
There are several primary categories of window tint film, each with its own characteristics:
Here’s a look at the main types:
| Tint Type | Description | Pros | Cons |
|---|---|---|---|
| Dyed Tint | The color is infused into the adhesive layer of the film. It’s the most basic type. | Most affordable option. | Fades easily, offers minimal heat rejection, can turn purplish over time. |
| Carbon Tint | Has a layer of carbon particles that provides good UV and heat rejection. It’s non-reflective and won’t interfere with electronics. | Excellent UV protection, good heat rejection, durable, won’t fade or turn purple. | More expensive than dyed tint. |
| Ceramic Tint | Contains microscopic ceramic particles that are non-conductive and provide superior heat and UV rejection. It’s often the most expensive but offers the best performance. | Excellent heat and UV rejection, blocks infrared rays, no signal interference, long-lasting and durable. | Typically the most costly. |
| Metalized Tint | Contains a layer of metal particles that reflect heat and UV rays. It adds a shiny, reflective look. | Good heat and UV rejection, adds exterior reflectivity. | Can interfere with GPS, satellite radio, and cell phone signals; can have a noticeable reflectivity that some dislike. |
| Hybrid Tint | Combines properties of other tint types, often blending dyed layers with carbon or ceramic elements. | Offers a balance of performance and price depending on the specific hybrid combination. | Performance can vary; may not offer the absolute best in any single category. |
When choosing, consider your budget, how much heat you want to block, and whether you’re concerned about electronic signal interference. For the best long-term results and performance, carbon or ceramic tints are usually recommended.
DIY Window Tinting: A Step-by-Step Guide
If you’re feeling confident and want to tackle this yourself, interior window tinting can be a rewarding DIY project. Accuracy and patience are key! Always start with a less critical window, like a rear side window, to practice.
Tools and Supplies You’ll Need:
- Window tint film kit (ensure it’s for your vehicle’s make and model, or buy a universal roll)
- Squeegee with a rubber edge (a few different sizes can be helpful)
- Detailing spray or a spray bottle with water and a drop of baby soap
- Razor blade or craft knife with a fresh blade
- Installation fluid (often included in kits, or a mix of water and baby shampoo works)
- Heat gun or hairdryer
- Application / Slip solution (isopropyl alcohol and distilled water mix is common)
- Measuring tape
- Cutting mat or a safe surface for cutting
- Lint-free cloths or paper towels
- Gloves (optional, but can help avoid fingerprints)
- A clean, dust-free environment (a garage is ideal)
Step-by-Step Application Process:
- Prepare the Window:
- Clean the inside of the window thoroughly. Remove any old tint, adhesive residue, or dirt. A glass cleaner and a razor blade are often needed for stubborn residue.
- Wipe the glass down with the installation/slip solution (usually isopropyl alcohol and water), then dry with a lint-free cloth. Ensure it’s spotless.
- Cut the Tint Film:
- Lay the tint film flat on your cutting surface.
- Measure the window you’re tinting and add a few extra inches to each side.
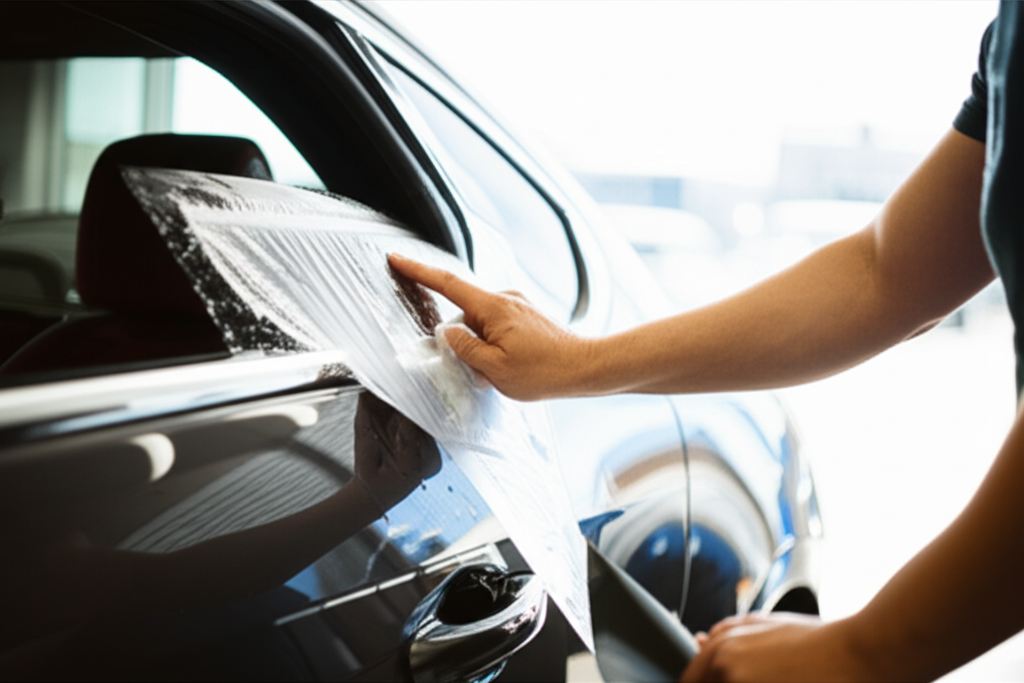
- Place the film over the outside of the glass of the window you plan to tint. This helps get the initial shape right and allows you to trim it to fit the curvature.
- Using your measuring tape and ruler as a guide, carefully cut the film to roughly the shape of the window, leaving a small overlap (about 1/2 inch) all around.
- Trim the edges to match the contour of the window frame, ensuring it fits snugly against the rubber seals. Aim for a precise fit.
- Prepare the Film for Application:
- Spray the inside of the window generously with your installation/slip solution.
- Peel off the backing paper from the tint film. This is often the trickiest part. Many people use two pieces of tape stuck to opposite sides of the film to easily separate the backing.
- Once the backing is off, spray the adhesive side of the film generously with the installation/slip solution.
- Apply the Film to the Window (Interior):
- Carefully align the film with the top of the window.
- Gently lay the film onto the wet glass, working from the top down.
- Squeegee Out the Solution:
- Using your squeegee, start from the center and work your way outwards to push out the installation solution and air bubbles.
- Overlap your squeegee strokes.
- For tight curves or edges, use the heat gun or hairdryer on a low setting to slightly warm the film. This makes it more pliable and allows you to stretch it smoothly into place. Be careful not to overheat!
- Use a sharp razor blade or craft knife to trim any excess film from the edges, especially around the window frame and seals.
- Final Touches and Drying:
- Gently squeegee the edges again.
- Wipe down the window and surrounding areas with a clean, lint-free cloth.
- Allow the tint to cure for at least 24-48 hours without lowering the windows or exposing them to excessive moisture. During this time, small pockets of water might still be visible; these will typically evaporate.
Patience is your best friend here. If you make a mistake, often you can peel the film off carefully (while it’s still wet) and reposition it, or you might need to start with a new piece of film.
When to Call a Professional Tinting Shop
While DIY tinting is possible, sometimes it’s best to leave it to the experts, especially if you’re aiming for a perfect finish or dealing with complex curves like a rear windshield.
Consider professional installation if:
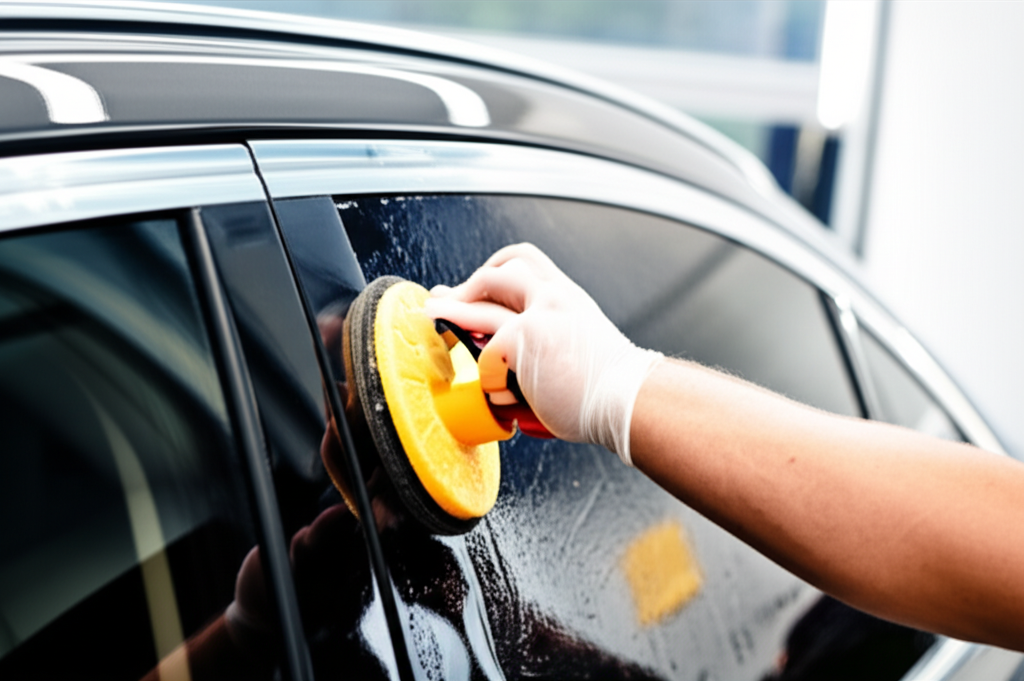
- You want a flawless finish: Professional installers have the experience, tools, and controlled environment (like a clean, dust-free shop) to achieve a perfect, bubble-free, and precisely cut result.
- You’re tinting the rear windshield: This is notoriously difficult due to its curvature. Professionals often use a technique called shrink-wrapping, which requires heat gun expertise and practice to get right without burning or tearing the film.
- You’re unsure about the process: If you’re new to car modifications or don’t have much patience for intricate DIY tasks, a professional can save you time and frustration. You can find reputable shops through online reviews or by asking for recommendations within car enthusiast communities. For example, resources like Tint Center offer advice on selecting a qualified installer.
- You want to ensure legality: Professional shops are familiar with local tint laws and can advise you on legal tint percentages for your windows.
- You want a warranty: Many professional shops offer a warranty on their workmanship and the tint film itself, providing peace of mind.
The cost of professional tinting will vary based on your vehicle, the type of tint chosen, and your location. It’s an investment, but often worth it for a high-quality, long-lasting finish.
Understanding Window Tint Laws
Window tint laws vary significantly by state, province, and even country. It’s crucial to know and follow these regulations to avoid tickets or the need to remove your tint.
These laws typically specify the minimum Visible Light Transmission (VLT) percentage allowed for different windows. VLT refers to the amount of light that passes through the tint and glass. A lower VLT means a darker tint.
General tint law guidelines (these are examples and vary by location):
| Window Location | Typical VLT Requirement (Example) | Notes |
|---|---|---|
| Driver & Passenger Front Doors | Usually 70% VLT or lighter (meaning up to 30% tint) | Must allow sufficient light for visibility and police identification. |
| Rear Window | Often less restricted than front windows, can be darker. | Laws vary; some states allow almost any darkness. |
| Rear Side Windows | Often shared with the rear window, or slightly darker than front. | Less restricted than front windows in most areas. |
| Windshield (Non-driver area) | Usually a strip at the top (e.g., 4-5 inches) or a specific VLT (e.g., 70%+). | Full windshield tinting is illegal in most places. Check specific regulations. |
It’s essential to research your local laws. Websites like the American Automobile Association (AAA) or your state’s Department of Motor Vehicles (DMV) will have the most accurate and up-to-date information. The National Conference of State Legislatures also provides a comprehensive overview of tint regulations in the United States.
Frequently Asked Questions (FAQ)
Q1: Can I put window tint film on the outside of my car, like a sticker?
A1: No, you absolutely should not. Window tint film is designed for interior application. Exterior application would cause it to degrade quickly from weather, UV rays, and road debris, and it wouldn’t adhere properly.
Q2: What happens if I tint the outside of my car windows?
A2: The tint will likely peel, bubble, and scratch within days or weeks. It won’t adhere properly and will look terrible, potentially damaging your car’s paint or glass if you try to remove sticky residue.
Q3: How long does car window tint last?
A3: When applied correctly to the interior, high-quality tint (like carbon or ceramic) can last 5 to 10 years or even longer. Cheaper dyed tints may only last a few years before they start to fade or bubble.
Q4: Is it illegal to tint my car windows?
A4: It’s not illegal everywhere, but there are laws regarding the darkness (VLT %) of tint allowed, especially on the front and driver’s side windows. Always check your local regulations.
Recent Posts
Durable Jeep Wrangler American Flag License Plate Frame for Patriotic Drivers
Have you ever felt frustrated by a plain, worn-out license plate frame on your Jeep Wrangler? It’s a small detail, but it can really affect your vehicle’s look.Every time you see that dull...
Slim Design Audi Black License Plate Frame for Sleek Car Styling
Have you ever struggled with a bulky, noisy license plate frame that just doesn’t fit right? It can be so frustrating when your car’s style feels off or the frame rattles every time you...