
Yes, you absolutely can install roof racks yourself with the right tools and a little patience! This guide breaks down the process into easy-to-follow steps, helping you confidently equip your vehicle for adventure without a trip to the mechanic. We’ll cover everything from choosing the right rack to making sure it’s securely attached.
Thinking about hitting the road with more gear? Maybe for camping, biking, or just a family vacation? Adding roof racks is a fantastic way to free up space inside your car and carry just about anything you need. But, the big question on many minds is: “Can you install roof racks yourself?” The good news is, for most common types of roof racks, the answer is a resounding “yes!” It might seem a bit intimidating at first, especially if you’re new to DIY car projects. However, with clear instructions and a bit of careful work, you can get your car ready for its next adventure. This guide is designed to make the process simple and stress-free, ensuring you get a safe and reliable setup. We’ll walk through it all, from picking out the best rack for your vehicle to the final tightening of bolts.
Why Consider Installing Roof Racks Yourself?
Taking on the task of installing your own roof racks might seem daunting, but there are several compelling reasons why it’s a smart choice for many car owners. It boils down to saving money, gaining a sense of accomplishment, and understanding your vehicle better. Plus, it opens up a world of possibilities for your next trip!
Cost Savings
Professional installation services can add a significant amount to the overall cost of your roof rack system. Mechanics or automotive accessory shops often charge an hourly labor rate, which can quickly add up. By doing it yourself, you eliminate this labor cost entirely, making your new roof rack system much more budget-friendly. The money saved can go towards your next adventure – maybe new camping gear or a bike upgrade!
Sense of Accomplishment and Confidence
There’s a special kind of satisfaction that comes from successfully completing a DIY project, especially one that involves your car. Installing roof racks yourself builds confidence in your ability to handle basic automotive tasks. It’s empowering to know you can make practical upgrades to your vehicle without relying on others. This newfound confidence might even encourage you to tackle other simple car maintenance jobs in the future.
Better Understanding of Your Vehicle
When you install something on your car yourself, you get an up-close and personal look at its construction. You’ll learn about the specific mounting points or the design of your car’s roof. This understanding can be incredibly useful down the line, whether it’s for routine maintenance or troubleshooting. You’ll have a better sense of how things fit together and what’s important for the integrity of your vehicle.
Customization and Flexibility
DIY installation gives you the flexibility to choose exactly when and where you install your racks. If you’re going on a short trip and don’t need the racks afterwards, you can easily remove them. You also have complete control over the process, ensuring everything is tightened to your satisfaction. This flexibility is something you might not get with a rushed professional installation.
Types of Roof Racks and Installation Considerations
Before you dive into the installation, it’s crucial to understand the different types of roof racks available and how they attach to your vehicle. This will help you choose the right system and prepare for the installation process.
Factory-Installed or OEM Roof Racks
Some vehicles come with pre-installed mounting points or even factory crossbars. These are often the easiest to work with. If your car has existing roof rails (the long bars running front to back along the edges of the roof), attaching crossbars—the bars that run side to side—is usually straightforward and often requires minimal tools.
Aftermarket Roof Racks
For vehicles without factory options, aftermarket racks are the way to go. These systems are designed to be adaptable to a wide range of vehicles. They generally fall into a few main categories based on how they attach:
- Clip-On (Fixed Point) Racks: These racks use specific mounting points designed into the car’s roof edge or door frame. They often come with custom clips or brackets tailored to your vehicle model. Installation usually involves attaching brackets to these fixed points.
- Clamp-On (Door Jamb) Racks: These racks clamp onto the edge of your car doors. They are often a good option for vehicles without fixed mounting points. The installation involves positioning the clamps in the door jamb and tightening them securely.
- Rail-Grip Racks: If your car has factory-installed side rails (raised or flush), these racks will grip onto those rails. They are typically adjustable and relatively easy to install.
- Bare Roof Adapters: For vehicles with completely smooth roofs, specialized adapters are used to create secure attachment points.
The complexity of installation varies significantly by type. Rail-grip and factory-style systems are often the simplest. Clip-on and clamp-on systems require more precision in placement and fitting your specific vehicle’s contours.
Tools and Materials You’ll Likely Need
Gathering the right tools before you start is key to a smooth and successful installation. Most roof rack kits come with the necessary Allan keys or wrenches, but it’s always good to have a few extra items on hand to make the job easier and more secure. Always refer to your specific roof rack’s instruction manual, as tool requirements can vary!
Essential Tools:
- The Roof Rack Kit: This is your primary component, including all the bars, feet, and mounting hardware specific to your vehicle.
- Measuring Tape: Crucial for ensuring correct spacing between bars and proper placement on your roof.
- Spirit Level (Optional but Recommended): Helps ensure crossbars are perfectly level, which is important for stability and aerodynamics.
- Soft Cloth or Towel: For protecting your car’s paintwork during the installation process.
- Gloves: To protect your hands and improve grip.
- Allen Keys/Hex Wrenches: Usually included in the kit, but having a set with different sizes is handy.
- Wrenches/Socket Set: Some systems might require standard metric or imperial wrenches.
- Instruction Manual: The most important tool! Keep it handy and follow it closely.
Optional but Helpful Items:
- Drill with appropriate bits: ONLY if your specific rack installation requires drilling. This is rare for most common aftermarket racks and should only be done if explicitly instructed by the manufacturer. (Refer to your manual carefully for this step!)
- Torque Wrench: For ensuring bolts are tightened to the manufacturer’s exact specifications. This is vital for safety and preventing damage. You can find automotive torque wrenches at most auto parts stores.
- Painter’s Tape: Can be used to mark positions on your roof to ensure symmetry and correct placement, especially on smooth roofs.
- Ladder or Step Stool: To safely reach the roof of your vehicle.
Always check what’s included in your specific roof rack kit. Reputable brands like Thule, Yakima, and Rhino-Rack provide detailed lists of included tools and any recommended additional items.
Step-by-Step Guide: How to Install Roof Racks Yourself
Installing roof racks can feel like assembling a puzzle, but if you break it down into manageable steps, it’s quite achievable. This guide provides a general overview. Remember to always prioritize the specific instructions that came with your particular roof rack system, as designs vary. Safety and secure attachment are paramount.
Step 1: Read the Manual and Identify Your Vehicle’s Mounting Points
This is the most critical first step. Your roof rack’s instruction manual is your roadmap. Understand the type of mounting system your rack uses (e.g., fixed points, door jambs, existing rails). Locate the specific areas on your car’s roof where the rack will attach. These might be pre-marked holes, specific indentations, or the edges of your door frames.
For Fixed Point Systems: Look for small covers on your roof that, when removed, reveal mounting points. Sometimes these are threaded. Your manual will show you exactly where these are. For example, Rhino-Rack’s fixed point bases are designed to connect to factory-designated spots.
For Clamp-On Systems: Identify the strongest part of your door jamb. The manual will often show diagrams of where the rubber-padded clamps should sit. Ensure they are not obstructing the door seal excessively.
For Rail-Grip Systems: Simply locate the factory side rails on your roof. These are usually the easiest to work with.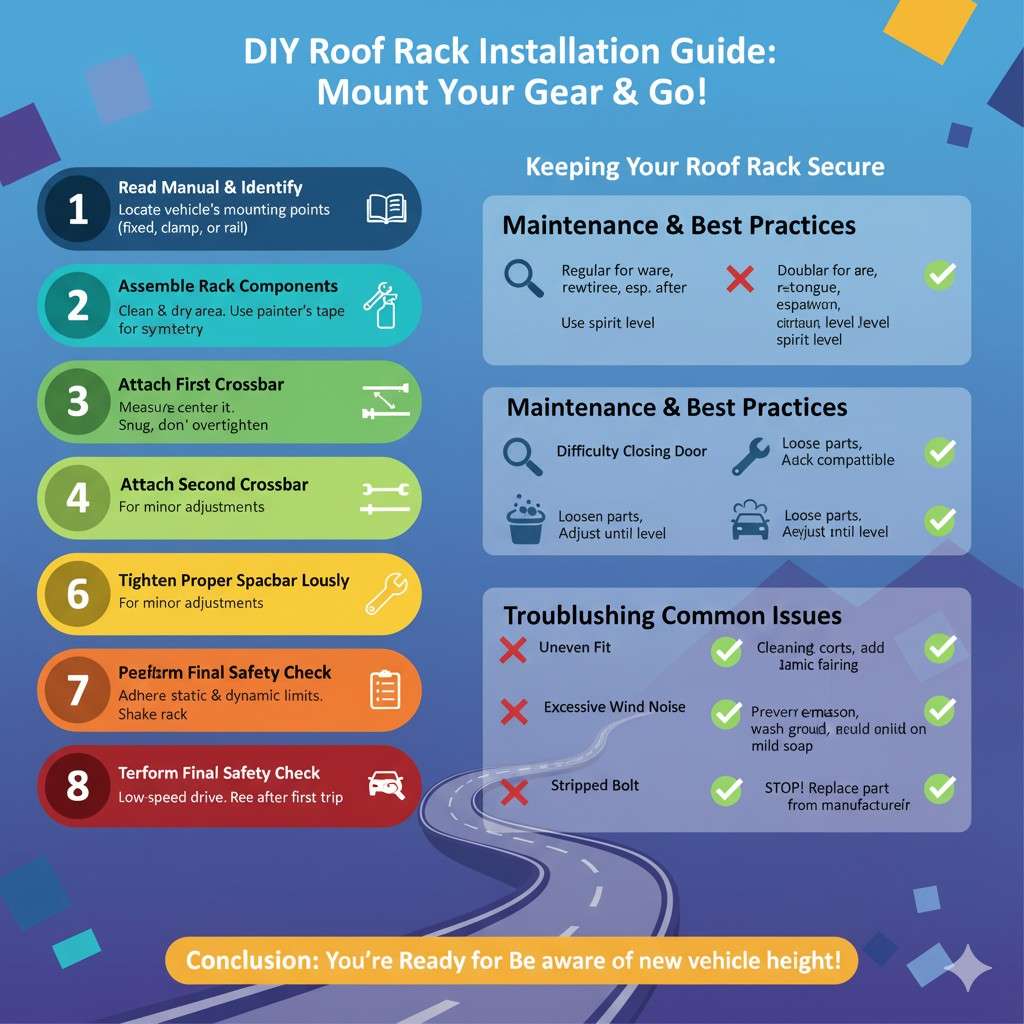
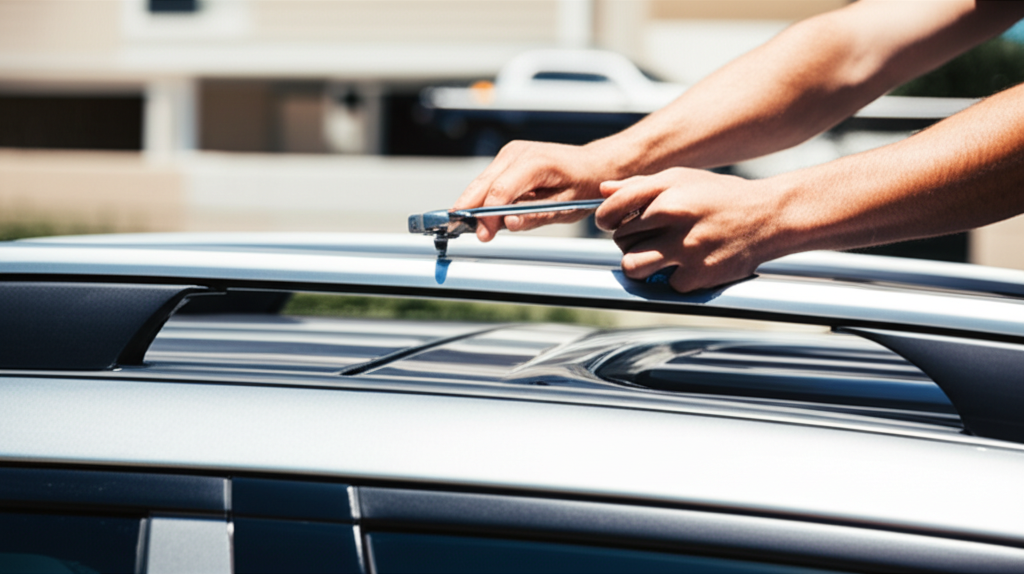
Step 2: Prepare Your Vehicle’s Roof
Clean the roof surface thoroughly where the rack feet or clamps will make contact. Use a mild soap and water solution or an automotive cleaner. Any dirt or debris can scratch your paint or prevent a secure, flush fit. Dry the area completely. If you’re using clip-on or clamp-on systems, sometimes it helps to place a piece of painter’s tape on the door frame or roof edge to mark the exact position before placing the rack component. This helps ensure that both sides are perfectly symmetrical.
Step 3: Assemble the Rack Components (If Necessary)
Some roof rack systems require a bit of assembly before mounting. This might involve attaching the feet to the crossbars or fitting specific brackets to the feet. Follow your manual’s diagrams precisely. Ensure all screws and bolts are snug but not overtightened at this stage, as you’ll need some adjustment later.
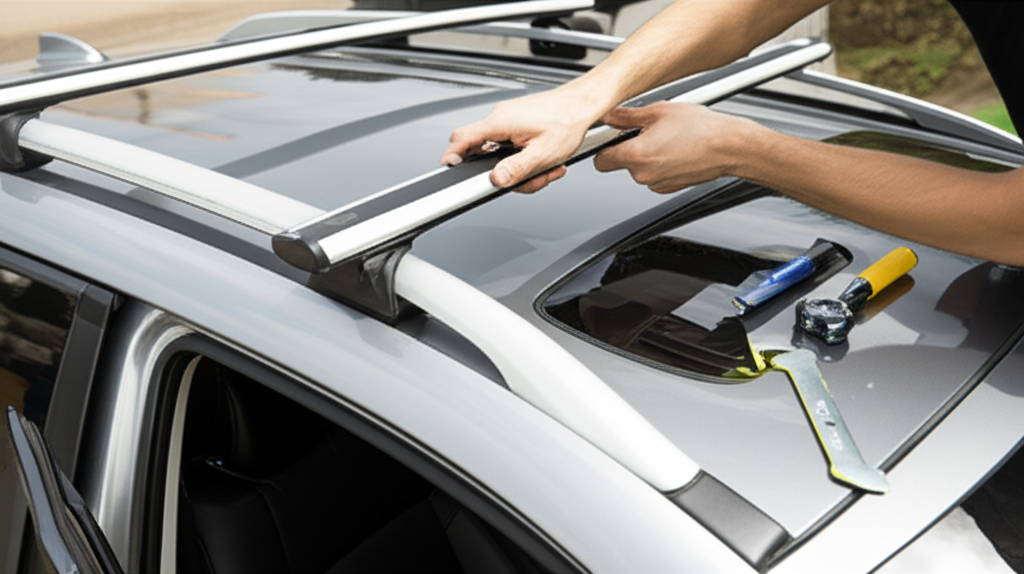
Step 4: Attach the First Crossbar (Placement is Key!)
This step is crucial for alignment. Start with one crossbar and its associated feet/brackets.
For systems with fixed points or rails, position this first bar onto the designated mounting points.
For clamp-on systems, carefully place the clamps in the appropriate door jambs.
Measure! Use your measuring tape to ensure the distance from the front of your roof to the crossbar is the distance recommended in the manual. Then, measure the distance from the edge of your car to each end of the crossbar. Aim for perfect symmetry. A difference of just a centimeter can affect performance and noise.
Step 5: Secure the First Crossbar Loosely
Once positioned, loosely tighten the hardware for the first crossbar. You want it to hold in place, but still allow for minor adjustments. This is where having a second person can be incredibly helpful to hold things steady.
Step 6: Attach the Second Crossbar
Now, attach the second crossbar. The recommended distance between crossbars is very important for carrying capacity and stability. Your manual will specify this distance. Measure from the center of the first crossbar to the center of the second one. Again, ensure it’s centered on the roof and equidistant from both sides of the car. Loosely secure this second crossbar.
Step 7: Ensure Proper Spacing and Alignment
With both crossbars loosely attached, double-check all your measurements.
Use your measuring tape to confirm the distance between the bars.
Measure from the front edge of the roof to the front bar, and a similar distance for the rear bar.
Verify that the bars are parallel to each other and perpendicular to the direction of travel.
Use a spirit level if you have one, placing it on top of each crossbar to ensure they are level.
Step 8: Tighten All Hardware Securely
Once you are satisfied with the placement and alignment, it’s time to tighten all the hardware. Work systematically. Tighten bolts incrementally, alternating between sides and between the front and rear bars. This even pressure helps prevent the rack from shifting during tightening.
Use a torque wrench if you have one! Tighten to the manufacturer’s specified torque. Over-tightening can damage your roof or the rack, while under-tightening can lead to the rack coming loose, which is extremely dangerous. A typical torque setting for roof racks might be around 5-10 Nm, but check your specific instructions. A torque wrench guide can help you understand these specifications.
Step 9: Perform a Final Safety Check
After everything is tightened, give the rack a good shake. It should feel solid and not move independently of the car. Check that all internal clamps or brackets are fully engaged. Test opening and closing your car doors to ensure they still seal reasonably well, and that there are no pinching or undue stresses on the door seals. Make sure no parts are protruding in a way that could be a hazard.
Step 10: Test Drive and Re-Check
Take a short, low-speed test drive. Listen for unusual noises like excessive wind whistle or rattling. Pull over in a safe place after a mile or two and re-check all the bolts and connections. It’s common for things to settle slightly. After your first longer journey, it’s a good habit to re-tighten all the hardware.
Keeping Your Roof Rack Secure: Maintenance and Best Practices
Installing your roof rack is just the first step. To ensure it remains safe and functional for years to come, regular maintenance and adherence to best practices are essential. Think of it like keeping your tires properly inflated; a little attention goes a long way.
Regular Inspections
Make it a habit to visually inspect your roof rack before and after significant trips, and at least once a month.
Look for any signs of wear and tear on the bars, feet, and mounting hardware.
Check for loose bolts or connections.
Ensure rubber padding or protective strips are intact and in place.
Tightening Hardware
Over time and with vibrations from driving, hardware can loosen slightly. Periodically (every few months or after long trips), re-tighten all bolts and screws to the manufacturer’s recommended torque specifications. A torque wrench is your best friend here to avoid both under- and over-tightening.
Cleaning
Clean your roof rack regularly, especially if you drive in areas with salt, sand, or heavy pollution. Use a mild soap and water solution. Rinse thoroughly and dry. This prevents corrosion and keeps the rack looking good. Pay attention to the mounting areas to ensure no debris builds up that could compromise the fit.
Weight Limits
Every roof rack system has a maximum weight limit (static and dynamic).
Dynamic weight limit refers to the weight the rack can safely carry while the vehicle is in motion. This is typically lower than the static limit.
Static weight limit is the maximum weight the rack can hold when the vehicle is stationary.
Always adhere to these limits. Exceeding them can damage your roof, the rack, and pose a significant safety hazard due to increased instability. Check your vehicle owner’s manual for your car’s roof load capacity as well, as this might be the limiting factor.
Loading and Unloading Gear
Distribute weight as evenly as possible across the crossbars. Avoid loading too much weight at the front or rear. For bulky or heavy items, use a stepladder to load and unload safely, preventing strain and potential damage to your vehicle or the rack. Secure your cargo properly with straps or bungees. Always tie down items securely to the rack, not just to themselves.
Aerodynamics and Noise
Roof racks can increase wind noise. Some racks are designed to be quieter than others. Properly tightening all components and ensuring a snug fit helps minimize noise. For extended periods of not using the rack, removing crossbars can reduce drag and noise, and save on fuel economy. If you’re looking for more information on automotive load capacity and safety standards, the National Highway Traffic Safety Administration (NHTSA) provides relevant safety information, though not specific to roof rack installation.
Troubleshooting Common Installation Issues
Even with the best intentions, you might encounter a few hiccups during installation. Don’t get discouraged! Most problems are easily fixed with a bit of patience and the right approach.
Issue: Difficulty Closing a Car Door
Problem: The door doesn’t close properly, or requires excessive force, due to the rack’s clamp or foot interfering with the seal.
Solution: Check your manual again. Ensure the clamp is positioned precisely where indicated. Sometimes, repositioning the clamp by just a millimeter or two can make a difference. Gently work the door open and closed a few times to help the seal adapt. If it’s a persistent issue and the manual offers no alternative placement, you might have the wrong rack or adapter for your specific vehicle model. Double-check compatibility charts from the manufacturer.
Issue: Uneven Fit – One Side Sits Higher or Further Forward
Problem: The crossbars don’t appear level, or the distance from the front of the car isn’t the same on both sides.
Solution: Loosen the hardware on the offending side(s) and re-measure carefully. Use a spirit level to ensure the crossbar itself is level. Ensure the vehicle is parked on a flat, level surface. Sometimes, the roof contour itself can create a slight visual illusion of unevenness, but if your measurements and spirit level confirm it’s actually uneven, you’ll need to adjust the feet or clamps until the measurements are symmetrical and the bar is level.
FAQ
**Q: Can you install roof racks yourself, or should you hire a professional?**
**A:** Yes, in most cases, you can absolutely install roof racks yourself! For common clip-on, clamp-on, or rail-grip systems, DIY installation is a straightforward process with the right tools and instructions. Hiring a professional is only necessary for complex systems requiring vehicle modification or if you are uncomfortable with the process.
**Q: What tools do I need to install a roof rack?**
**A:** Most roof rack kits include the necessary Allen keys. Essential tools you’ll likely need are a measuring tape, a soft cloth to protect your paint, and gloves. For a safer, more precise installation, a torque wrench is highly recommended to tighten bolts to the manufacturer’s exact specifications.
**Q: How long does it take to install a roof rack?**
**A:** For a first-time installation, set aside 1-2 hours. This allows time for reading the manual carefully, precise measurement, and double-checking your work. With experience, installation can take as little as 30 minutes.
**Q: How do I know what roof rack fits my car?**
**A:** Roof rack compatibility is based on your vehicle’s year, make, and model. Use the fit guides on manufacturer websites (like Thule, Yakima, or Rhino-Rack) or reputable retailer sites. You’ll need to specify if your car has a bare roof, fixed mounting points, side rails, or factory crossbars.
**Q: What is the difference between a roof rail and a roof rack?**
**A:** **Roof Rails** (or side rails) are the long bars that run front-to-back along the edge of the roof, often installed by the factory. **A Roof Rack** typically refers to the **Crossbars** that run side-to-side, which you attach to the roof rails or directly to the roof itself. You need crossbars to hold cargo, kayaks, or bike racks.
**Q: Is it safe to drive with a roof rack all the time?**
**A:** Yes, it is generally safe, but it will decrease your fuel economy due to increased wind resistance and create some wind noise. For optimal efficiency and to preserve the rack, it’s best to remove the crossbars when you are not using them for an extended period.
**Q: Why is my roof rack so noisy and how can I fix it?**
**A:** Wind noise is common and is often caused by loose components or an un-aerodynamic profile. Ensure all bolts are tightened to the correct torque. If the noise continues, consider installing an aerodynamic fairing (wind deflector), which is designed to redirect airflow and significantly reduce whistle and roar.
**Q: How much weight can a roof rack hold?**
**A:** The weight capacity depends on both your vehicle’s roof capacity and the rack system’s limits. Always check your car’s owner’s manual and the rack manufacturer’s specifications. Never exceed the lower of the two limits. The **dynamic weight limit** (while driving) is always much lower than the static limit (when parked).
**Q: Do roof racks damage your car’s roof?**
**A:** A properly installed and maintained roof rack will not damage your car. Damage typically occurs from incorrect installation, over-tightening, failing to use protective pads, ignoring loose hardware, or exceeding the weight limit. Regular inspections and correct installation are key to preventing damage.
**Q: My car doors are hard to close after installing the rack. What should I do?**
**A:** This usually means the door-jamb clamps are slightly misaligned. Loosen the hardware and reposition the feet according to the manual’s diagram. The clamps should sit securely on the strongest part of the door frame without excessively compressing the weather seal.
Recent Posts
Jumper Cables With Bag: Heavy Duty Booster Cables for Easy Storage
There’s nothing more frustrating than turning the key in your car and hearing silence. A dead battery can ruin your day in an instant.You might feel stuck, stressed, and unsure what to do next....
Strong Ram 1500 Heavy Duty License Plate Frame for Ultimate Durability
There’s nothing more frustrating than struggling with a flimsy license plate frame that bends, rusts, or just doesn’t fit right on your Ram 1500. You want something strong and reliable that...