
Can I Put WD40 on Car Brakes? Absolutely NOT, and here’s why. WD40 is NOT designed for your car’s braking system. Using it can severely damage your brakes, compromise stopping power, and create a dangerous driving situation. This guide will explain why and what to use instead for safe and effective brake maintenance.
Ever stare at your car’s brakes and wonder if a quick spray might help with a squeak or rust? It’s a common thought, especially when you see WD-40 used for so many fixes around the house and garage. That little blue and yellow can seems like a miracle worker for many problems, from rusty hinges to sticky locks. But when it comes to something as critical as your car’s brakes, a little knowledge goes a long way to keeping you safe. Ignoring this could lead to a very scary situation on the road. Let’s clear up the confusion and make sure you know exactly what to do (and what NOT to do!) to keep your brakes working perfectly.
Understanding Your Car’s Brakes: Why They’re So Important
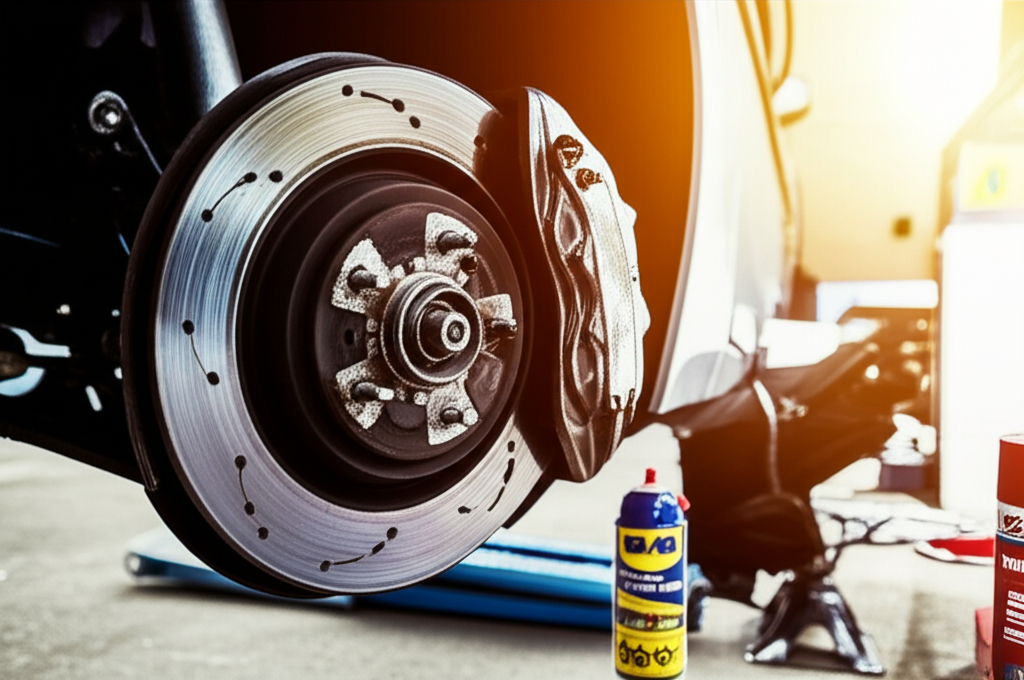
Your car’s brakes are arguably the most important safety feature. They are what allow you to slow down and stop, preventing accidents. They work through a system of friction. When you press the brake pedal, hydraulic fluid pushes brake pads against a spinning disc (the rotor) or a drum. This friction converts the car’s kinetic energy into heat, slowing the vehicle down. It’s a sophisticated system that relies on specific materials to work effectively and safely.
The key components include:
- Brake Pads: These are the friction material that presses against the rotor.
- Brake Rotors (or Discs): These are the metal discs that the pads clamp onto.
- Brake Calipers: These hold the brake pads and contain the pistons that push the pads.
- Brake Fluid: This hydraulic fluid transmits the force from your foot on the pedal to the brake pads.
Each of these parts needs to be clean and dry to function correctly. Contamination from the wrong substances can severely impair their performance, making your car less safe to drive.
What is WD-40 and What Is It Meant For?
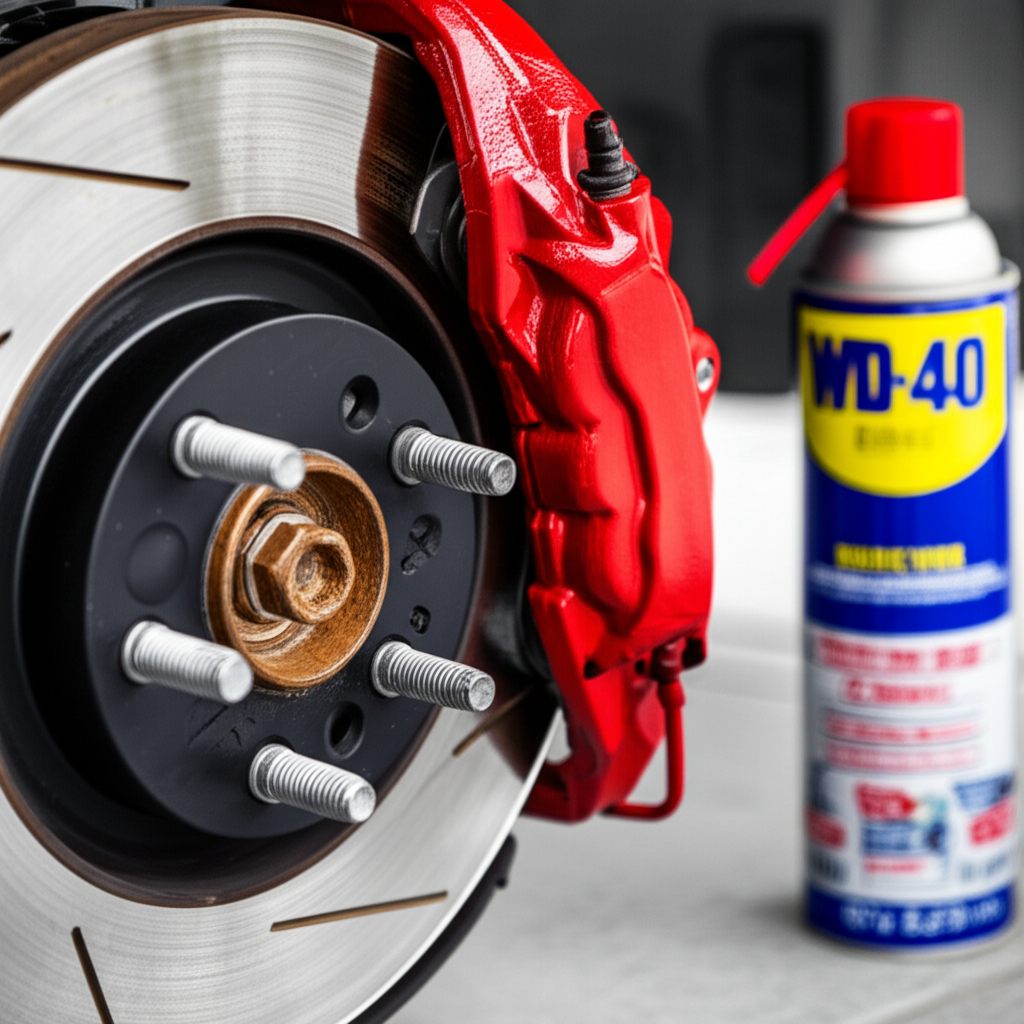
WD-40 stands for “Water Displacement, 40th formula.” Its primary purpose is to lubricate, penetrate, displace moisture, and protect metal surfaces from rust and corrosion—great for tools, hinges, and garden equipment! It’s a solvent and lubricant solution that can loosen stuck parts or prevent them from seizing up. However, its composition is not suitable for the high-friction, heat-generating environment of your car’s braking system.
So, while WD-40 is excellent for many household and garage tasks, it’s crucial to know its limitations. Putting it where it doesn’t belong can create bigger problems than it solves.
The Big Question: Can I Put WD40 on Car Brakes?
The short, definitive answer is NO. You cannot and should not put WD-40 on your car brakes.
Here’s why this seemingly simple shortcut is actually a recipe for disaster:
- Reduced Friction: WD-40 is a lubricant. Brake pads and rotors rely on high friction to grab and slow down your car. Applying lubricant to these surfaces will drastically reduce friction, meaning your brakes won’t work as effectively. This could lead to much longer stopping distances or even complete brake failure.
- Contamination: The oils and solvents in WD-40 will contaminate the friction surfaces of your brake pads and rotors. Once contaminated, these surfaces may never be able to regain their optimal braking performance, even after cleaning. You might need to replace the brake pads and possibly the rotors.
- Damage to Rubber Components: WD-40 can degrade rubber seals and components found within the brake system, such as those in the calipers or brake lines. Damaged rubber can lead to leaks and further system failure.
- Safety Hazard: Impaired braking ability is a serious safety hazard for you, your passengers, and other road users. It’s simply not worth the risk.
When NOT to Spray WD-40 Near Your Brakes
It’s not just about spraying WD-40 directly onto the brake pads or rotors that’s a problem. Even spraying it in the general vicinity can cause issues:
- Spraying near the Calipers: The calipers have seals that can be damaged by WD-40.
- Spraying onto Brake Lines: While brake lines are typically metal, the fluid inside can be contaminated if any spray gets past seals or connections.
- Accidental Overspray: Even if you’re trying to spray something else nearby (like a suspension component), be mindful of overspray. The brake system components are exposed.
What Are the Signs of Brake Problems (and What To Do)?
Before we talk about what to use instead, let’s quickly cover how to identify brake issues. If you notice any of these, get them checked out immediately:
- Squealing or Grinding Noises: Can indicate worn brake pads or foreign objects.
- Spongy or Soft Brake Pedal: Often a sign of air in the brake lines or a leak in the hydraulic system.
- Car Pulling to One Side When Braking: Could mean a problem with one or more brake calipers or the brake pads.
- Vibrations or Pulsations When Braking: Usually indicates warped brake rotors.
- Warning Lights on the Dashboard: Your car’s brake warning light or ABS light is a clear signal something is wrong.
If you experience any of these, it’s best to stop driving the car and have a qualified mechanic inspect your brakes. For minor issues, a mechanic can diagnose and fix them safely. You can find more information on brake maintenance from reputable sources like the National Highway Traffic Safety Administration (NHTSA).
Safe Alternatives for Brake Maintenance and Cleaning
So, if WD-40 is out, what can you use to address squeaks, light surface rust on rotors, or general maintenance around the brake area (without contaminating the friction surfaces)?
1. For Squeaky Brakes
Brake squeaks can be frustrating. Often, they are caused by vibration between layers of the brake pad itself or between the pad and the caliper. Here’s what might help:
- Brake Lubricant (High-Temperature Synthetic): This is specifically designed for brake systems. You apply it to the back of the brake pads (the metal backing plate) or to the caliper contact points where the pads slide. It’s a grease that dampens vibrations. Never spray it on the friction material (pad surface) or the rotor.
- Anti-Squeal Brake Shims: These are thin pieces that attach to the back of brake pads. They help to absorb vibrations that cause squealing.
- Checking for Wear: If the squeal is constant or accompanied by reduced stopping power, your brake pads might be worn out and need replacement.
A good quality synthetic brake lubricant can be found at most auto parts stores. Look for products designed for high temperatures and contact points.
2. For Light Rust on Rotors
It’s common to see light surface rust on brake rotors, especially after the car has been sitting in the rain. This usually cleans off with the first few applications of the brakes.
- Normal Braking: The best and safest way to remove light surface rust is to simply drive the car and apply the brakes gently a few times. The friction will quickly wear away the rust.
- Disc Brake Cleaner: If you need to clean the rotors for inspection or before installing new pads, use a spray-on disc brake cleaner. These are specifically formulated to remove brake dust, grease, and light corrosion without leaving an oily residue. Ensure the cleaner evaporates completely before driving. Always follow the product instructions and wear appropriate safety gear.
Disc brake cleaner is readily available and effective. Brands like CRC, Permatex, and Gumout offer effective products. Always ensure good ventilation when using these cleaners.
3. For General Cleaning Around the Brake Area (NOT Friction Surfaces)
If you’re cleaning suspension components or other parts near the brakes, and you want to remove dirt or grime, do so with extreme caution:
- All-Purpose Cleaner (Automotive-Specific): Use an automotive all-purpose cleaner and a brush.
- Water and Soap: Mild soap and water can be used for general cleaning of non-critical parts.
Crucially, immediately after cleaning, cover the brake assembly with shop towels or plastic to prevent any cleaning solution or water from reaching the rotors, pads, or caliper interiors.
How to Replace/Clean Brake Components Safely (DIY Basics)
While this guide focuses on WD-40, understanding that some brake maintenance can be done DIY can build confidence. However, remember that brakes are critical safety components. If you’re ever unsure, it’s best to consult a professional. For those looking into DIY, here’s a general overview focusing on cleaning and replacement, emphasizing safety:
Essential Tools for Basic Brake Work:
Before you start, gather your tools. Having the right equipment makes the job easier and safer.
| Tool | Purpose |
|---|---|
| Jack and Jack Stands | To safely lift and support the vehicle. |
| Lug Wrench | To remove wheel lug nuts. |
| Socket Set and Ratchet | For removing caliper bolts and other fasteners. |
| C-Clamp or Brake Caliper Tool | To compress the brake caliper piston. |
| Wire Brush | To clean rust and debris from metal parts. |
| Brake Cleaner Spray | To remove brake dust and grease from rotors and calipers. |
| High-Temperature Brake Lubricant | For lubricating caliper slide pins and where pads meet the caliper. |
| Shop Towels and Gloves | For cleaning and hand protection. |
| Torque Wrench | To tighten all fasteners to the manufacturer’s specifications. |
Safety First!
Working on brakes requires careful attention to detail. Always prioritize safety:
- Ensure the vehicle is on a level surface.
- Engage the parking brake on the rear wheels (if working on front brakes) or use wheel chocks.
- Use sturdy jack stands to support the vehicle; never rely solely on the jack.
- Wear safety glasses to protect your eyes from brake dust and debris.
- Wear gloves to protect your hands from brake dust and chemicals.
Steps for Cleaning Rotors (When Light Rust is Present):
For light surface rust on rotors that doesn’t clear with normal braking.
- Safely Lift the Vehicle: Jack up the car and place jack stands securely under the frame or designated points. Remove the wheel.
- Inspect the Rotor: Look for light surface rust. If there’s significant pitting, grooving, or warping, the rotors may need replacement.
- Clean the Rotor Surface: Spray the rotor generously with a dedicated disc brake cleaner. Ensure it covers the entire friction surface.
- Scrub (Optional): If rust is stubborn, use a wire brush gently on the rotor surface. Avoid aggressive scrubbing that could damage the rotor.
- Wipe Clean: Use a clean shop towel to wipe away the cleaner, dust, and any loosened rust.
- Repeat if Necessary: For stubborn rust, repeat steps 3-5.
- Allow to Dry: Let the rotor air dry completely. Disc brake cleaner should evaporate without residue.
- Reinstall Wheel: Put the wheel back on, but don’t fully tighten the lug nuts yet.
- Lower Vehicle and Torque: Lower the car and torque the lug nuts to the manufacturer’s specifications in a star pattern.
- Test Brakes: Drive slowly in a safe area and apply the brakes gently several times to ensure they are working correctly and the rust is gone.
Replacing Brake Pads (A General Overview):
This is a more involved process. If you are new to car maintenance, it’s highly recommended to watch detailed video tutorials specific to your car model or have a professional guide you.
- Follow Steps to Remove Wheel: As above, safely lift the vehicle and remove the wheel.
- Locate Caliper Bolts: Identify the bolts that hold the brake caliper in place. These are usually on the backside.
- Remove Caliper Bolts: Use your socket set to remove the caliper bolts. You might need to hold a bolt head with a wrench while turning another.
- Remove the Caliper: Carefully slide the caliper off the rotor and hang it aside using a wire or bungee cord. Do not let it hang by the brake hose.
- Remove Old Brake Pads: The old pads should now be accessible within the caliper bracket. Remove them.
- Compress Caliper Piston: This is crucial to make room for new, thicker pads. Use a C-clamp or a brake caliper tool to slowly and evenly push the piston back into the caliper. Watch the brake fluid reservoir under the hood; if it’s full, you may need to remove some fluid to prevent overflow.
- Clean Caliper Bracket and Hardware: Use a wire brush to clean the areas where the pads slide and any metal hardware.
- Apply Brake Lubricant: Apply high-temperature brake lubricant to the specified contact points (e.g., backing plate of the new pads, caliper slide pins) as per your service manual or new pad instructions. DO NOT GET LUBRICANT ON THE PAD FRICTION MATERIAL OR ROTOR.
- Install New Brake Pads: Place the new pads into the caliper bracket.
- Reinstall Caliper: Slide the caliper back over the new pads and rotor.
- Reinstall Caliper Bolts: Insert and tighten the caliper bolts. Torque them to the manufacturer’s specifications.
- Reinstall Wheel and Torque Lug Nuts: As in the rotor cleaning steps.
- Repeat for All Wheels: Brakes should always be serviced in pairs (both front wheels or both rear wheels).
- “Bed-In” New Pads: Follow the brake pad manufacturer’s instructions for “bedding in” to ensure optimal performance and quiet operation. This usually involves a series of moderate stops from different speeds.
For more detailed instructions, consult your vehicle’s service manual or look up model-specific guides from reputable automotive sites like AutoZone’s DIY center.
Frequently Asked Questions (FAQ)
Q1: Will WD-40 stop my brakes from squeaking?
A: No, it will make them worse. WD-40 is a lubricant and will reduce the friction needed to stop. This can lead to squeaking and, more importantly, dangerous loss of braking ability.
Q2: Can I spray brake cleaner on WD-40 if it accidentally got on my brakes?
A: Spraying brake cleaner might help remove some of the WD-40, but it’s unlikely to fully decontaminate the brake pad or rotor. If you suspect WD-40 has contacted your brake friction surfaces, it’s safest to replace the brake pads and have the rotors inspected by a professional, as the contamination can be permanent.
Q3: What’s the difference between WD-40 and a brake lubricant?
A: WD-40 is a multi-purpose lubricant and solvent designed for general use. Brake lubricant is a high-temperature grease specifically formulated to reduce friction and vibration at brake component contact points (like caliper pins and pad backing plates), without negatively affecting the stopping power of the pads and rotors themselves. They are NOT interchangeable.
Q4: How often should I check my brakes?
A: It’s recommended to have your brakes inspected at least once a year as part of your regular vehicle maintenance, or every 10,000 to 12,000 miles. However, if you notice any unusual noises, changes in pedal feel, or warning lights, get them checked immediately.
Q5: Can I use WD-40 on suspension parts near the brakes?
A: While WD-40 might loosen a rusty suspension bolt or lubricate a squeaky bushing, you must be extremely careful to prevent any overspray from reaching the brake components (rotors, pads, calipers). Always use a shop towel or plastic to mask off the brake
Recent Posts
10 Best License Plate Frames for Popular Cars: Stylish & Durable Picks
Have you ever struggled with a loose or rusty license plate frame that just won’t stay put? It’s frustrating when your car’s look feels unfinished or when a noisy frame distracts you on every...
Best Tesla Model 3 & Model Y License Plate Frames No Drill Options
Have you ever struggled with installing a front license plate on your Tesla Model 3 or Model Y? Drilling into your sleek car’s bumper can feel wrong and risky.It’s frustrating to think about...